


A tripod LED work light moves illumination close to a temporary task without installing a permanent luminaire. The same portability also creates design constraints: elevated heads can cause glare, hard shadows and wind load, while folding legs and power cables introduce impact and trip hazards.
Choose the complete setup, not the highest wattage. Define the work area and viewing task, model delivered light, aim both heads, verify the stand on the actual surface, plan the electrical route and test the production-intent unit under representative conditions.
| Selection question | Evidence to request | Failure prevented |
|---|---|---|
| How much useful light reaches the task? | Total flux, IES/LDT file and site measurement | Hot spots with dark working areas |
| Can the stand remain stable? | Height, footprint, mass and stability instructions | Tip-over from wind, impact or cable pull |
| Is the electrical package suitable? | Voltage, plug, cord, protection and market documents | Shock, overheating and damaged cables |
| Can it tolerate the environment? | Model-level IP and temperature evidence | Misuse in rain, dust or unsuitable locations |
| Can crews handle it repeatedly? | Folded size, setup procedure and inspection plan | Pinch, transport and maintenance failures |
Start with the Current Product Configuration
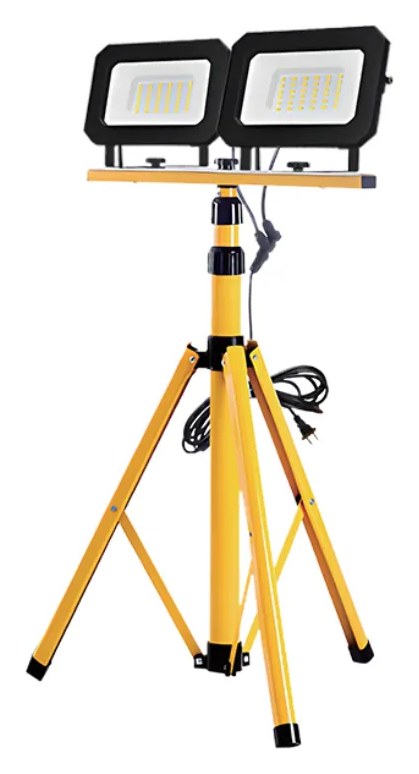
The current New Lights Dual-Head LED Flood Light Tripod uses two independently adjustable flood heads on a raised crossbar and folding tripod. The product page positions the two-head arrangement for adjacent temporary task areas and instructs buyers to confirm head power, coverage, glare, input voltage, total load, cable route, plug exposure and stand stability.
That current identity is more reliable than carrying historical model rows into a new article. The retrieved current page does not publish a complete model-level photometric or mechanical table, so approval should remain tied to the exact offered head, driver, stand, cable and plug package.
For other ground-level and carry-frame formats, compare the portable IP65 LED flood light. Format selection should follow placement, handling and cable needs rather than product appearance alone.
Define the Work Area Before Selecting Output
Measure the area that needs light and mark where people work, walk, drive and handle materials. Record task-plane height, obstructions, reflective surfaces, machinery and glare-sensitive viewing directions. Separate general circulation from detailed assembly, inspection, repair or camera work.
Applicable workplace rules may set minimum illumination levels, but a minimum does not prove uniformity or visual comfort. Define maintained illuminance, minimum-to-average ratio where relevant, acceptable glare and the background level around the task. The warehouse lighting RFQ checklist provides a wider framework for documenting geometry, operating states and acceptance criteria.
The work boundary also determines how many tripods are needed. One bright stand may be easy to deploy yet create deep shadows behind workers or equipment. Two lower-output positions can sometimes deliver better visibility with less direct glare.
Compare Delivered Light, Not Wattage Alone
Wattage describes electrical input, not how light reaches a surface. Request total lumens and an IES or LDT file for the exact head and optical configuration. Model both heads at the intended height, tilt and spacing, then check the result on the real task grid.
| Photometric input | Record | Decision supported |
|---|---|---|
| Work plane | Height, dimensions and orientation | Measurement grid and target level |
| Mounting | Tripod position, mast height and head tilt | Beam placement and shadow direction |
| Distribution | Exact IES/LDT file | Average, minimum and peak illuminance |
| Surroundings | Reflectance, obstructions and background | Glare and adaptation risk |
| Operating state | Both heads, one head and supply condition | Every intended use mode |
The general LED floodlight selection guide explains the relationship among output, optics, working distance and coverage. A wide beam label by itself cannot predict site illuminance because distance, tilt and room geometry change the footprint.
Aim Two Heads to Control Shadows and Glare
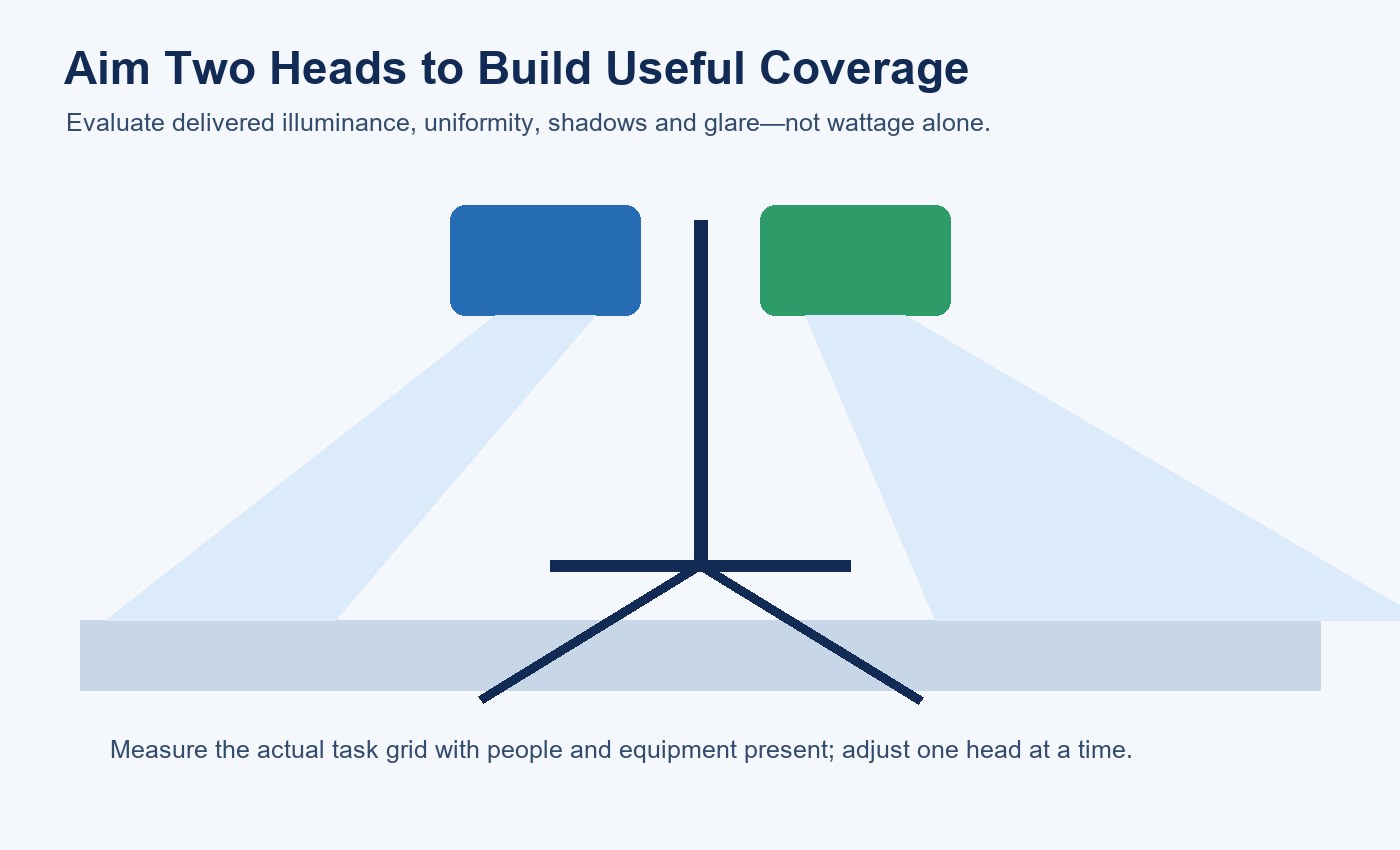
Use the two heads deliberately. Aim one toward the primary task and the other toward an adjacent or shadowed area rather than overlapping both beams at the same point. Adjust one head at a time while monitoring the task grid.
Place the tripod outside primary sight lines and vehicle paths. Aim down toward the task instead of across the horizon. Observe the layout with workers, tools and machinery in their normal positions; an empty floor can conceal obstruction shadows.
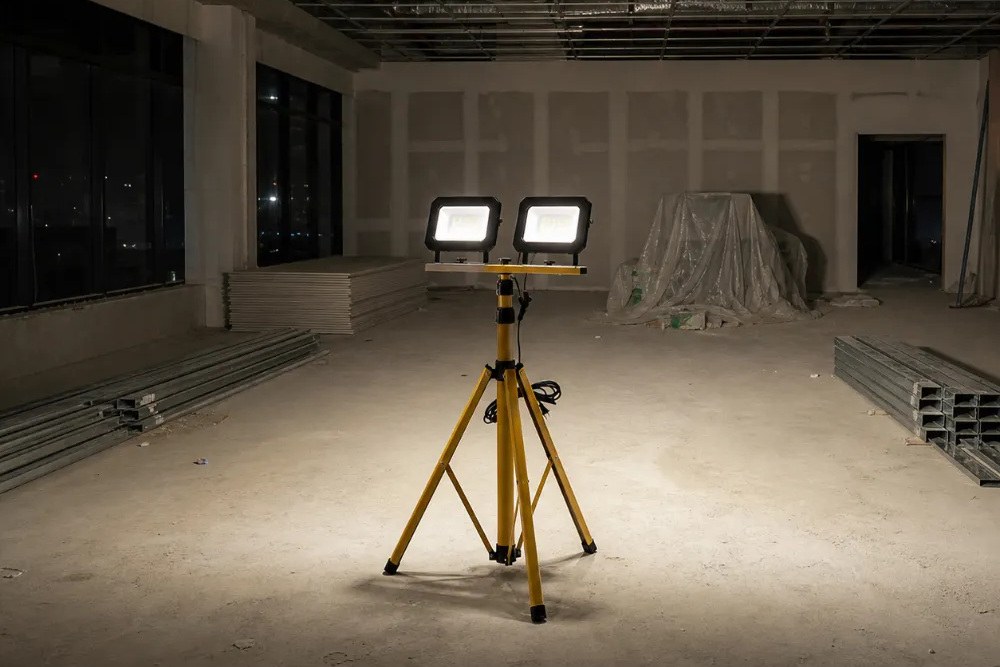
If one head creates a bright hot spot, do not assume that raising output is the solution. Reposition the stand, spread the beams, add background illumination or use another light direction. The goal is usable visibility across the task, not the highest meter reading at one point.
Verify Height, Locks and Mechanical Condition
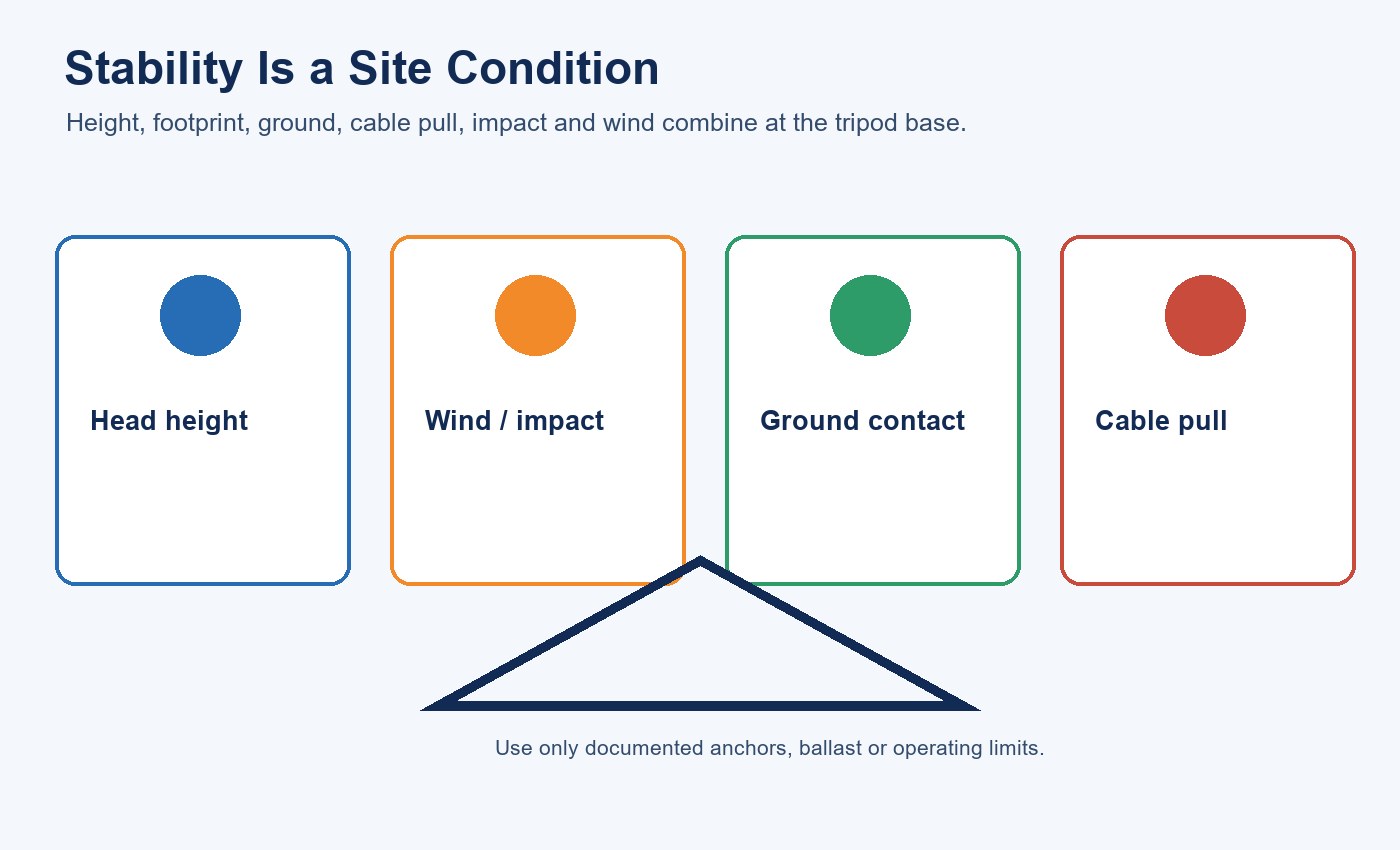
Raise the mast only as high as needed to clear obstructions and distribute light. Greater height increases the moment applied at the base and can make wind, impact or cable pull more consequential. Lock every telescopic section and head-adjustment joint according to the product instructions.
Inspect play, damaged threads, worn clamps, missing feet and deformed members. Confirm that the crossbar and heads do not rotate or drop after repeated adjustment. A replaceable or adjustable component is useful only when the connector, fasteners and service procedure are controlled.
Do not carry an energized tripod or lift it by the cable. Define whether one person can safely deploy the complete kit, and use two-person handling where the actual mass or site procedure requires it.
Evaluate Stability on the Actual Surface
Concrete, compacted soil, gravel, slope and soft ground produce different support conditions. Open the legs fully, place every foot on stable contact and maintain a protected footprint around the stand. Keep the mast within the documented operating height.
| Stability factor | Site check | Required control |
|---|---|---|
| Mast height | Lowest useful operating height | Lock sections and stay within instructions |
| Ground contact | All feet stable and fully deployed | Reposition or prepare the surface |
| Wind exposure | Forecast, gusts and head area | Follow documented limit or remove the stand |
| Impact exposure | Workers, doors and vehicles | Relocate, barrier or mark the footprint |
| Cable pull | Route, slack and connector direction | Protect the route and avoid snag loading |
Request unit mass, deployed footprint, maximum height and any applicable stability or tip-over instructions. Do not describe the stand as windproof without model-specific evidence. Use only anchors, ballast or guying methods approved for the product and site; improvised weights can slide or introduce new trip hazards.
Plan the Electrical and Cable Route
Confirm voltage, frequency, plug, cord type, grounding or insulation class, strain relief and destination-market documentation for the exact package. Temporary work sites may require ground-fault protection, approved distribution equipment and flexible cords suitable for the environment.
Route the cable away from walkways and vehicle paths. Where a crossing cannot be avoided, use an approved protector and preserve visibility. Leave enough slack for head and mast adjustment without pulling the inlet, but avoid loose loops that create trip or heat-management problems.
Inspect the plug, cord, entry and strain relief before each use. Remove damaged equipment from service. The LED product compliance document checklist can be adapted to the destination market, while the LED driver and control compatibility guide helps keep supply and operating-state checks tied to the exact configuration.
Interpret IP and Outdoor Claims Narrowly
An enclosure rating must be tied to the exact tested configuration and covered parts. A rated lamp head does not automatically protect an open plug, extension connection, switch or damaged cable. Confirm what the model-level report covers and how connectors must be positioned or protected.
IP65 does not establish immersion, unlimited storm exposure, salt resistance, impact resistance, every operating temperature or hazardous-location suitability. The IP65 fixture environmental selection guide separates water and dust ingress from condensation, corrosion, temperature and mechanical risks.
If flammable gas, vapor or combustible dust may be present, use equipment specifically approved for the classified location and follow the site’s hazardous-area process. A normal outdoor or IP statement is not a substitute.
Check Flicker, Color and Visual Quality
Select correlated color temperature and color rendering according to the task, inspection needs and adjacent lighting. For rotating machinery, cameras or visually sensitive work, request temporal-light-modulation data for the exact driver and supply.
A phone camera can screen for obvious banding but cannot establish product performance. Use the test approach in the LED flicker, power factor and THD checklist and include any generator or temporary distribution system used on site.
Also observe contrast outside the beam. A very bright task surrounded by darkness can impair adaptation and movement. Reposition the heads or provide background illumination instead of increasing one local hot spot indefinitely.
Test Portability as a Repeated Workflow
Portability includes total kit mass, folded dimensions, handle positions, setup time, cable storage and transport protection. Test the actual case or vehicle arrangement. Identify pinch points during folding and secure the mast, crossbar and heads so they do not strike other equipment.
For rental fleets or shared tools, assign an asset identity and record cord, stand and head inspections. Keep replacement feet, locks and fasteners controlled by the approved configuration. The LED lighting supplier factory audit checklist and New Lights factory and manufacturing overview provide a broader production and change-control context.
Run a Representative Site Acceptance Test
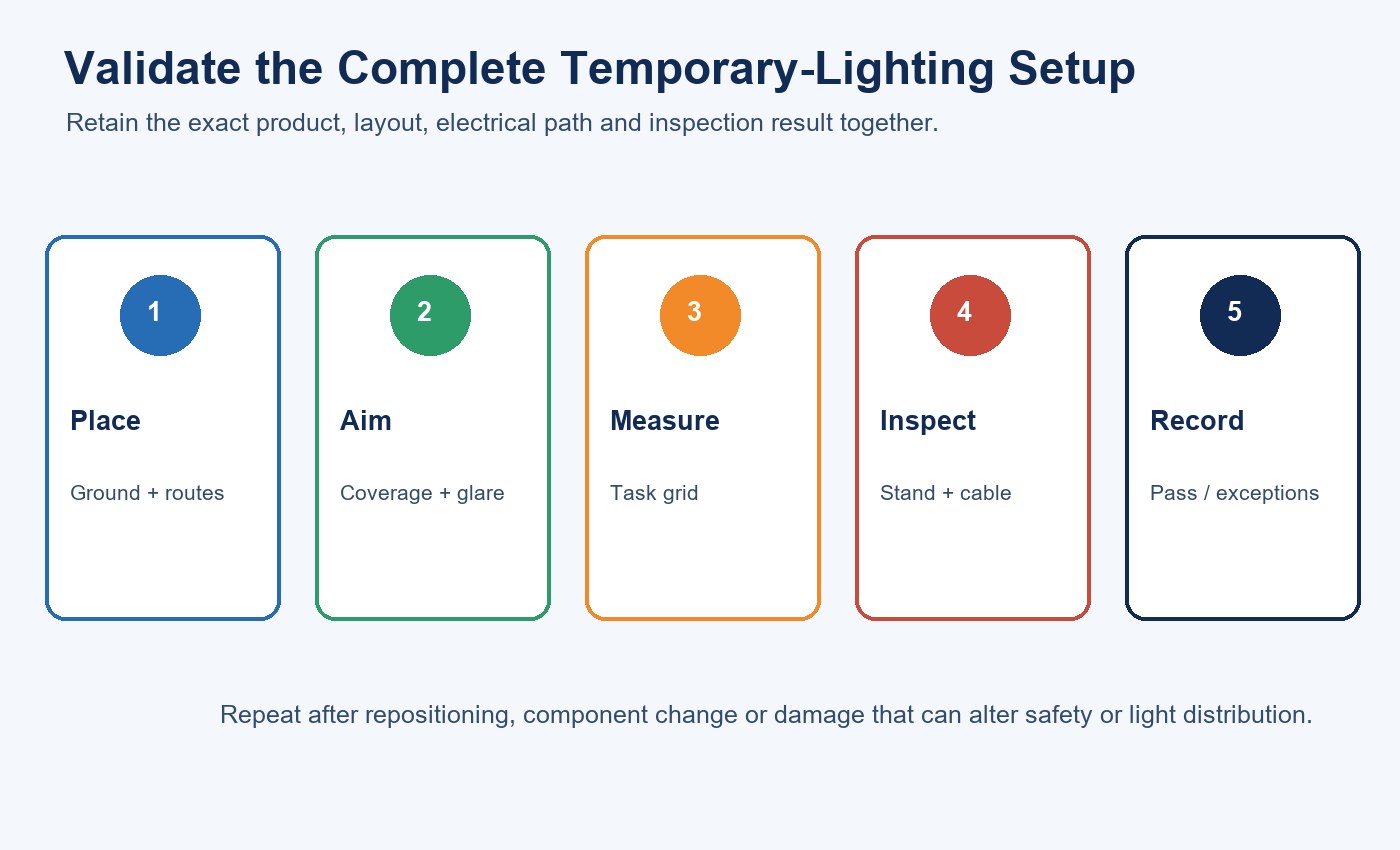
Set up the production-intent unit at the planned location, height and aim. Measure the work and access grid, then observe glare and shadows with people and equipment present. Verify stand locks, footprint, cable route, switching, power recovery and environmental protection.
| Acceptance record | Minimum evidence | Pass condition |
|---|---|---|
| Product identity | Head, driver, stand, cord and plug | Matches approved configuration |
| Lighting result | Grid readings and observation notes | Meets task and access criteria |
| Mechanical setup | Height, locks, footprint and ground | Stable under permitted conditions |
| Electrical setup | Supply, protection and cable route | Matches site and market requirements |
| Exceptions | Damage, glare, shadows or exposure | Closed before release |
Use the LED lighting sample evaluation checklist to preserve the evidence. Repeat affected checks after repositioning, component changes or damage that can alter safety or distribution.
For an OEM or project review, send the work area, target illumination, mounting height, ground condition, wind exposure, power source, cable route and destination market when you contact New Lights.
Frequently Asked Questions
Is the highest-wattage tripod light always the best choice?
No. Choose by delivered illuminance, uniformity, glare, shadows, electrical load and setup constraints. Higher wattage can create a hot spot without improving the full work area.
How high should a tripod LED work light be?
Use the lowest height that clears obstructions and provides the required coverage. Greater height can increase the mechanical load at the base.
Can an IP65 tripod light be left in heavy rain?
Do not decide from IP65 alone. Verify the tested parts, plug and connector protection, product instructions and actual weather exposure.
Can it be used in a hazardous location?
Only when the complete product is specifically approved for the classified hazard and the site’s procedures permit it. A normal IP rating is insufficient.
What should be inspected before each use?
Check both heads, lenses, adjustment locks, crossbar, mast locks, legs, feet, fasteners, cable, plug, strain relief and signs of moisture or impact.
How can hard shadows be reduced?
Aim the two heads toward complementary zones or use more than one light position. Confirm the result with the task and obstructions present.
Editorial Sources
- New Lights, “Dual-Head LED Flood Light Tripod”: https://new-lights.com/products/led-work-lights/led-flood-light-tripod/
- New Lights, “Flood & Work Light” catalogue: https://www.new-lights.com/new-lights/2024/12/06/floodworklight.pdf
- U.S. Occupational Safety and Health Administration, “1926.56 Illumination”: https://www.osha.gov/laws-regs/regulations/standardnumber/1926/1926.56
- U.S. Occupational Safety and Health Administration, “Electrical Hazards in Construction Student Workbook”: https://www.osha.gov/sites/default/files/2022-01/Electrical%20Hazards%20in%20Construction%20Student%20Workbook.pdf












