An LED tube that stays dark does not automatically have a failed LED board. The visible symptom belongs to the complete lamp-and-fixture system: the incoming supply, protective device, control state, fluorescent ballast or external LED driver, lampholders, wiring arrangement, internal driver and LED strings. The first useful question is therefore not “Which part should I replace?” but “What exact TLED architecture is installed?”
That distinction matters because tubular LED lamps can look nearly identical while requiring different electrical connections. A lamp intended to operate through a compatible fluorescent ballast is not diagnosed in the same way as a ballast-bypass lamp. A single-ended line-voltage tube is not interchangeable with every double-ended tube. The approved label and installation instructions—not the tube shape—define the next safe step.
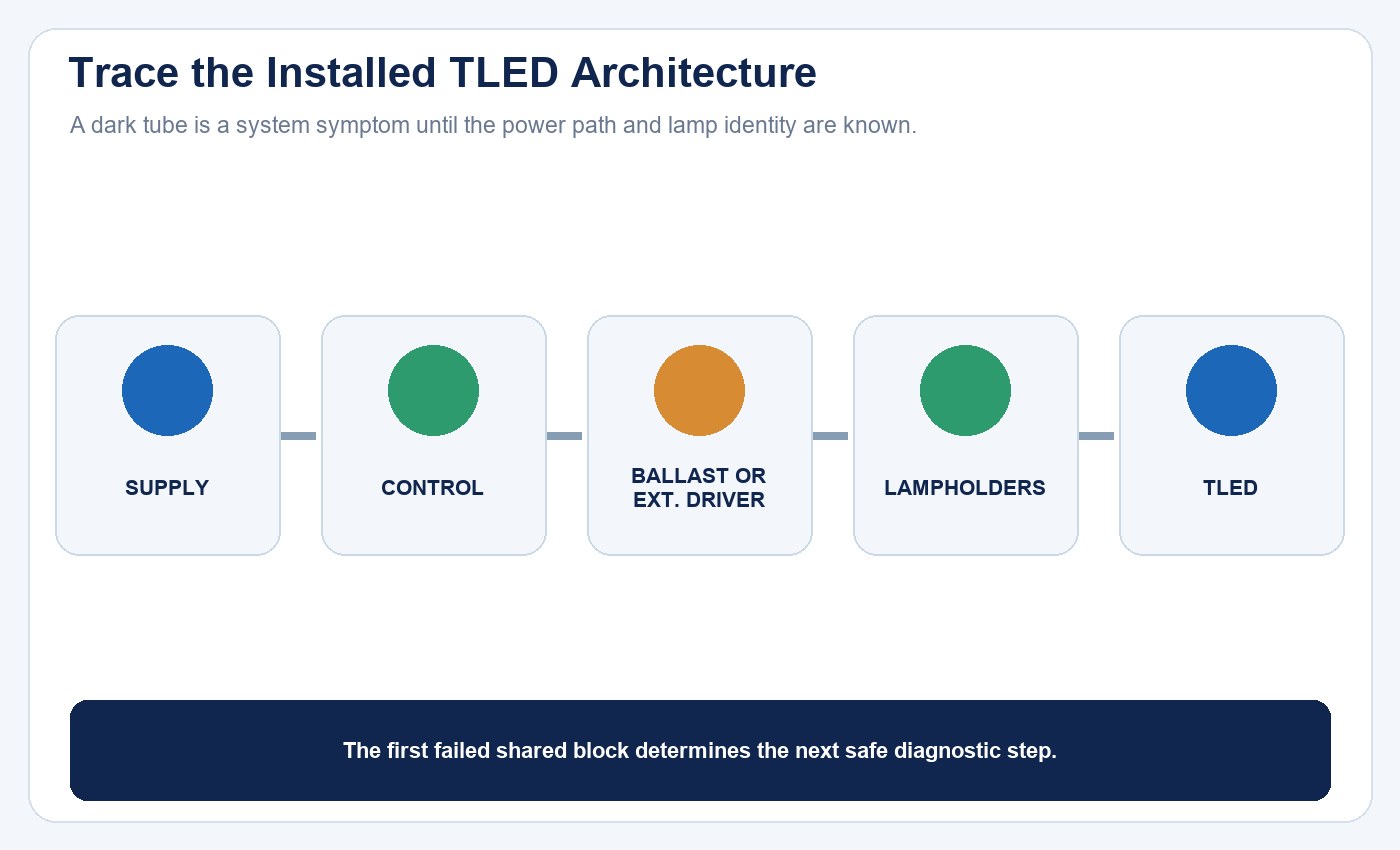
Identify the installed architecture first, then trace the first shared block where expected operation disappears.
Use the broader LED light failure diagnosis guide when the product is not specifically a tubular retrofit lamp. If the retrofit route itself has not been selected, start with the LED tube versus fluorescent tube comparison.
Start by Identifying the TLED Architecture
In common US retrofit terminology, a Type A TLED operates through the existing fluorescent ballast and also contains internal LED power-conversion electronics. A Type B TLED has an internal driver but receives line voltage after the fluorescent ballast is disconnected. A Type C TLED is powered by a separate external LED driver. Dual-mode products may support more than one arrangement, but only within the conditions stated by their manufacturer.
These labels describe architectures, not a universal pin-by-pin recipe. Product markings, certification scope and regional terminology can differ. Before removing a cover or ordering a replacement, record the complete lamp model, fixture label, ballast or external-driver model, supply rating, control system and any retrofit warning label. Photograph the installed orientation and all existing labels while the equipment is safely de-energized.
If the installation cannot be classified from reliable documentation, stop treating it as a routine lamp swap. A qualified person should identify the circuit against the lamp instructions. Guessing whether a fixture is ballast-fed or line-fed can damage the lamp and may create a shock or fire hazard.
| Architecture | What remains in the power path | First identity check | Unsafe shortcut |
|---|---|---|---|
| Type A | Compatible fluorescent ballast | Exact lamp-ballast compatibility list | Assuming every electronic ballast works |
| Type B | Branch supply after an approved conversion | Single/double-ended input and fixture label | Energizing unknown lampholder contacts |
| Type C | Matched external LED driver | Exact driver-lamp pairing and output | Substituting by connector or wattage |
| Dual mode | Depends on the selected approved mode | Label and instructions for that mode | Mixing instructions from two modes |
Define the Symptom Before Testing Parts
“Not working” is too broad for efficient diagnosis. Record whether one tube or every tube in the fixture is dark. Note whether the problem began immediately after installation, appeared after a period of normal service, follows one socket position, or moves with the lamp. Also record flicker, delayed starting, intermittent operation, partial illumination, odor, discoloration, tripped protection or repeated failures.
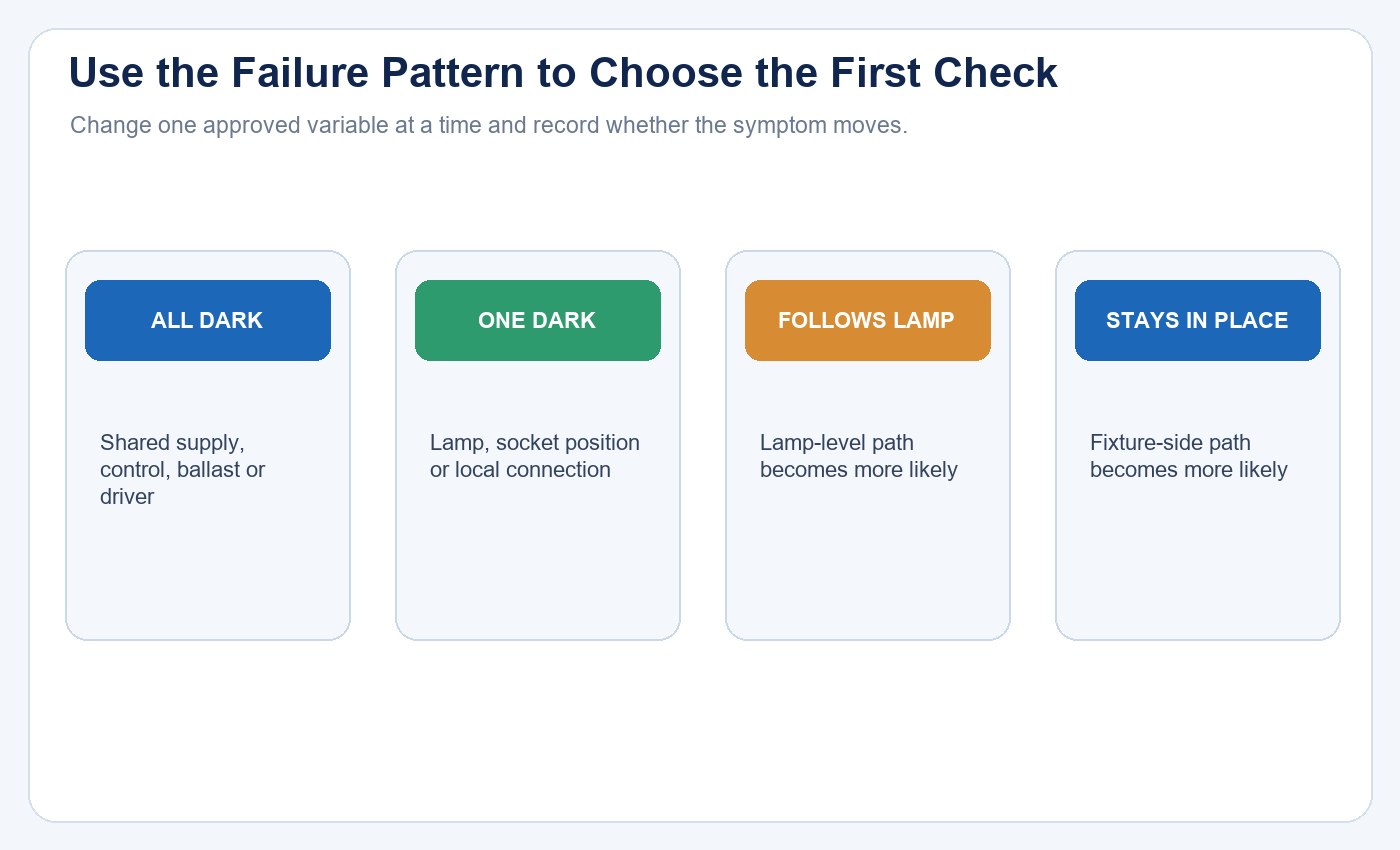
A fault that affects every lamp points toward a shared element such as supply, switching, control, ballast or external driver. A fault that follows one lamp during an approved, de-energized substitution is more consistent with a lamp-level problem. A fault that remains at one fixture position instead points toward the lampholder, conductor or shared electronics. These patterns narrow the search, but they are not final proof by themselves.
| Symptom pattern | First shared boundary to review | Evidence that changes the next step |
|---|---|---|
| Every tube is dark | Supply, control, ballast or external driver | Circuit state and shared-device identity |
| One tube is dark | Lamp, one socket position or local connection | Approved one-variable substitution |
| Fault moves with lamp | Lamp-level path becomes more likely | Same approved system and recorded swap |
| Fault stays at position | Lampholder, conductor or fixture-side path | De-energized inspection and qualified tests |
Check the Supply and Control State
Begin with the least invasive checks. Confirm that the affected area is actually commanded on, that schedules and occupancy controls permit operation, and that no upstream protective device has opened. In a controlled installation, compare the affected fixture with a known operating fixture on the same intended circuit and control state.
Do not defeat a sensor, emergency circuit, dimmer or building control simply to make the lamp turn on. A control may be operating correctly while the replacement lamp or driver is incompatible with its output. Conversely, a control fault can make a healthy lamp appear defective. Preserve the control settings and alarm history before changing components.
Visual inspection should occur only after isolation and verification of a safe condition. Look for loose or damaged lampholders, heat discoloration, cracked parts, displaced conductors, contamination and missing retrofit labels. Electrical measurements, cover removal and rewiring belong to qualified personnel working from an approved procedure.
For unstable or commanded-off behavior, use the LED driver, dimming and control compatibility guide and the flicker, power factor and THD checklist.
Type A: Verify the Ballast and Compatibility
For a Type A lamp, the existing fluorescent ballast remains part of the operating system. DOE guidance warns that ballasts and Type A lamps are not universally compatible. Two visually identical fixtures may even contain different ballast models because of earlier maintenance or supply substitutions.
Check the exact ballast manufacturer and model against the lamp maker’s current compatibility list. A broad statement such as “works with electronic ballasts” is not enough. Confirm lamp length, ballast family, lamp count, input conditions and any published restrictions. The compatibility-list revision date also matters because lamp electronics or ballast variants may change.
An aging ballast can fail before the LED tube, cause intermittent starting or contribute to flicker. If several lamps on one ballast are affected, investigate that shared ballast and its connections rather than replacing every tube first. If a known-good, approved lamp works in the position and the suspect lamp does not, the evidence shifts toward the lamp—but only after confirming that the substitution is permitted for that exact ballast.
Do not automatically remove the ballast because a Type A lamp stays dark. That would change the retrofit architecture and could place line voltage on a lamp not intended for it. A conversion requires a lamp or kit approved for the new arrangement, its installation instructions, the correct components and the required markings.
The LED tube installation safety guide separates retrofit identification from electrical conversion, while the T5 Type A and Type B comparison shows why retained-ballast and bypass routes have different maintenance boundaries.
Type B: Confirm the Supply-End Arrangement and Lampholders
Type B lamps operate after the fluorescent ballast has been disconnected, but “Type B” does not describe one universal connection. Products may use single-ended or double-ended power, and the required lampholder arrangement depends on the particular design.
If a newly installed tube does not illuminate, compare the lamp label and installation diagram with the documented fixture conversion. Confirm that the installed lamp is the same model for which the fixture was converted. A tube supplied from one end cannot be assumed to work in a fixture converted for another arrangement. Likewise, shunted and non-shunted lampholders are not interchangeable by default; their suitability depends on the approved circuit.
A missing or incorrect retrofit label is itself a process warning. The next maintainer must be able to identify that the fixture no longer has its original fluorescent configuration and which replacement lamp is permitted. If the circuit history is unknown, do not insert a different tube as an experiment. Have a qualified person inspect the conversion against the certified instructions.
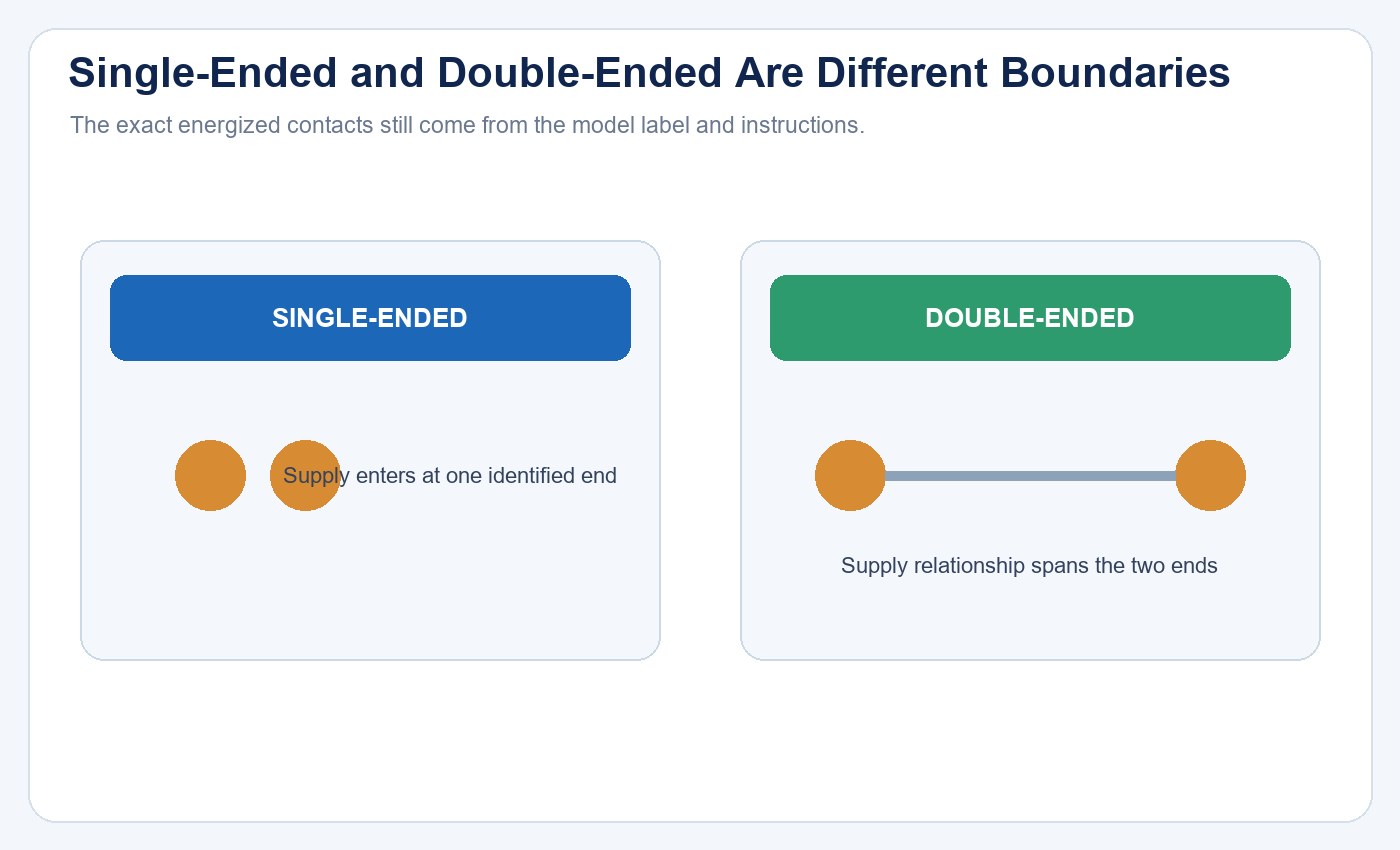
Single-ended and double-ended describe different supply boundaries, but the exact contacts and lampholders still come from the model instructions.
Type C: Include the External Driver
In a Type C system, the external LED driver is a shared and essential component. A dark lamp may result from lost driver input, an open output connection, a driver protection state, an incompatible replacement tube or an internal lamp problem. If every tube connected to one driver fails together, the shared driver and supply deserve priority in the investigation.
Record the external-driver model, input rating, output range, number of connected lamps and any control interface. Replacement must preserve the approved driver-to-lamp relationship. A driver with a connector that fits is not necessarily electrically compatible. Do not substitute an unverified driver or connect a Type A or Type B lamp to a Type C output merely because the tube dimensions match.
Use the TLED driver power supply selection guide to verify output window, thermal limits, protection and version control. The T5 LED tube label guide is useful when Type A, Type B or Type A+B appears on the product identity.
Use Controlled Substitution Carefully
A controlled substitution can distinguish a lamp-level fault from a fixture-level fault when the product instructions permit it. Use a known-good lamp of the exact approved model, keep the equipment de-energized during removal and insertion, and change one variable at a time. Record the original position and result.
If the symptom follows the suspect tube into a known-good compatible position, the lamp becomes the leading suspect. If the known-good lamp also fails in the original position, investigate the fixture-side components. If the result changes after disturbing the lamp, inspect lampholder contact, mechanical retention and connection condition rather than assuming the issue has been solved.
Avoid repeated uncontrolled swapping across unknown fixtures. It can mix Type A, B and C products, expose a lamp to the wrong supply, erase evidence and create additional faults. Quarantine any lamp associated with odor, overheating, visible damage or repeated protective-device operation until it has been reviewed.
Interpret Flicker, Intermittent and Partial-Light Symptoms
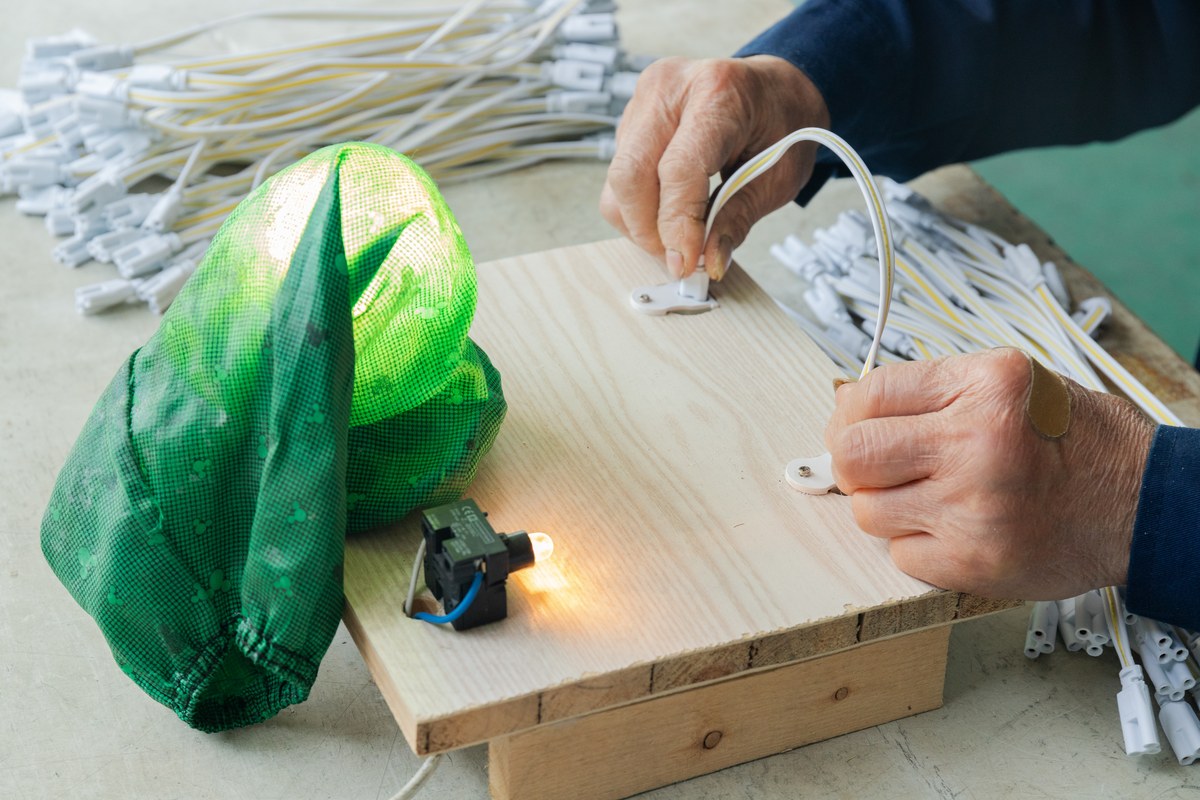
A tube does not need to be completely dark to indicate a problem. Type A flicker may involve ballast compatibility or ballast aging. Intermittent operation may point to a loose lampholder, control interaction, thermal protection, driver instability or an internal connection. Partial illumination can indicate an internal LED-string or connection fault, but the conclusion requires product-level inspection or testing.
Record whether the symptom changes with warm-up time, ambient temperature, dimming command or fixture position. Do not convert these observations into unsupported failure-frequency claims. One field symptom can have several causes, and the same failed component can produce different symptoms depending on the architecture.
Build an Evidence Package Before Supplier Review
A useful supplier inquiry includes more than a photo of a dark tube. Collect the lamp model and date or batch code, fixture and ballast or driver labels, supply market, control type, wiring or retrofit documentation, installation date, operating history, affected quantity and symptom pattern. Include clear photographs of heat marks or mechanical damage without dismantling energized equipment.
For a repeated problem, preserve failed and known-good samples and record every substitution. Ask the supplier to identify the approved architecture, compatibility boundary, diagnostic procedure and return-analysis process. If you need a bounded review, contact New Lights with the lamp model, fixture label, ballast or driver model, wiring documentation and symptom history.
| Record | Minimum useful detail | Why it matters |
|---|---|---|
| Lamp identity | Model, lot and label photographs | Confirms architecture and revision |
| Fixture identity | Host fixture, ballast or external driver | Defines the shared power path |
| Conversion record | Wiring mode, installer label and date | Distinguishes original from modified fixture |
| Symptom history | Quantity, timing, position and repeatability | Separates shared and local causes |
| Controlled comparison | Exact known-good part and one changed variable | Makes the result interpretable |
Use the LED lighting sample evaluation checklist and LED tube supplier evaluation guide when a field symptom must feed back into purchasing or production controls.
A Practical Stop-or-Proceed Decision
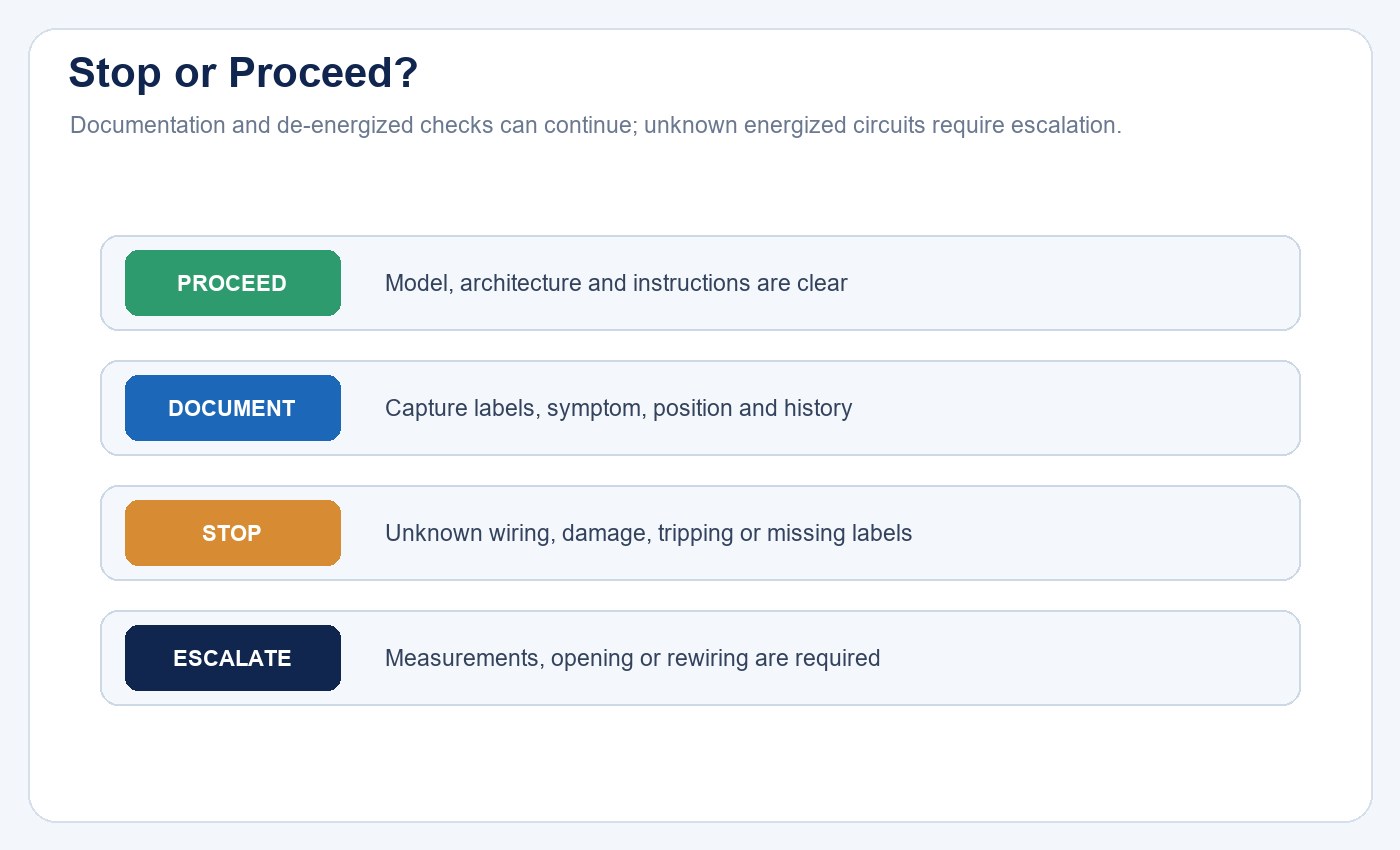
Proceed with documentation and de-energized comparison when the lamp model, architecture and approved instructions are clear. Escalate to qualified electrical work when the architecture is unknown, the fixture has been modified, labels are missing, conductors or lampholders are damaged, protection has tripped, or measurements and rewiring are required.
The most reliable troubleshooting sequence is simple: identify the system, define the symptom, preserve evidence, compare only approved configurations and change one variable at a time. It prevents a dark tube from becoming an unsafe generic rewiring exercise—and it gives the manufacturer or installer enough information to find the actual fault.
Frequently Asked Questions
Does a dark LED tube mean the tube has failed?
No. The supply, control, ballast, external driver, lampholder, wiring arrangement or lamp can produce the same symptom. Identify the architecture and use controlled evidence before assigning the fault.
Should I remove the fluorescent ballast?
Not as a generic troubleshooting step. Type A lamps require a compatible ballast, while Type B and Type C systems use different approved arrangements. Follow the exact lamp and retrofit instructions.
Can I put a single-ended tube into a double-ended fixture?
Do not assume so. The supply-end arrangement and lampholder requirements are model-specific. Confirm the lamp label, wiring diagram and certified conversion before substitution.
Why does an LED tube flicker but still turn on?
Possible causes include Type A ballast compatibility or aging, controls, loose connections, driver instability or an internal lamp fault. Record when the flicker occurs and compare the complete approved system.
Is replacing the fluorescent starter always required?
No universal answer applies. Starter handling depends on the original fixture and the exact retrofit product. Use the manufacturer’s installation instructions rather than a generic starter rule.
What information should I send to the supplier?
Send the complete lamp model and batch, fixture label, ballast or external-driver model, supply and control context, retrofit documentation, symptom history, affected quantity and clear photos.
Editorial Sources
- U.S. Department of Energy, LED Retrofit Kits, TLEDs, and Lighting Controls: An Application Guide: https://www.energy.gov/sites/default/files/2017/03/f34/led_troffer_retrofit_guide.pdf
- U.S. Department of Energy, The Rise of TLEDs: https://www.energy.gov/sites/prod/files/2016/11/f34/truong_tleds_denver2016.pdf
- UL Solutions Code Authorities, UL Certified LED Retrofit Luminaire Conversion Kit FAQs: https://code-authorities.ul.com/about/blog/led-retrofit-kits-ul-certified-luminaire-retrofit-kit-faqs/