


Garden pathway lighting should help a person understand where to go, where the surface changes and where the route ends. Start with entrances, bends, intersections, steps and destinations; then compare distribution, mounting, shielding, power and controls on a representative section after dark.
Map the Route and Its Decisions
Draw the complete walking route before opening a product catalogue. Mark entrances, exits, gates, bends, intersections, steps, slopes, changes between paving and gravel, narrow passages and destination points. Add planting edges, walls, drainage paths, irrigation, furniture and service zones because these can block light or restrict mounting and maintenance.
Classify each point by the decision a walker must make. On a straight, visually bounded path, the task may be continuous orientation. At a junction, the task is choosing the correct branch. At a step or abrupt surface change, the task is seeing the transition early enough to adapt. Near a gate or door, the route also connects to identification and access tasks. The Outdoor, Garden & Solar Lighting solution provides the broader application families; this article owns route-specific selection and verification.
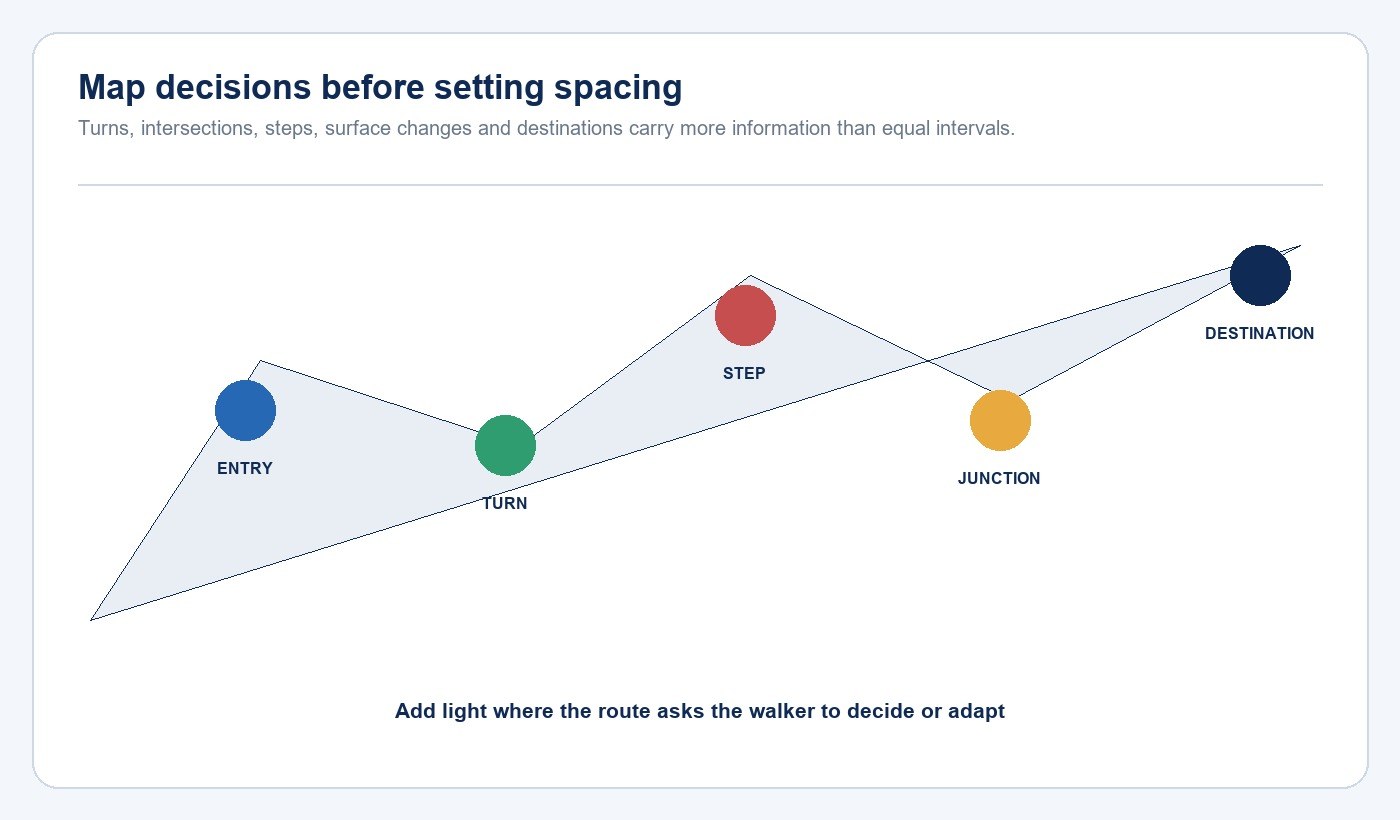
Separate Route Guidance from Decorative Lighting
Route guidance should make continuity, direction and level changes legible. Decorative lighting may reveal planting, texture or a focal object, but it should not compete with the information needed for movement. A brightly illuminated tree beside a dark step can pull attention away from the more important transition. Conversely, flooding the entire garden removes hierarchy and can increase visible-source brightness without improving route understanding.
Use the route as the base layer, then add selected landscape accents. The garden and landscape lighting selection guide covers focal objects and planting in more detail, while the courtyard and villa outdoor lighting guide explains how routes connect with entrances, seating and service zones.
Compare Fixture Roles Before Comparing Models
Define the task first and use product families as candidate tools. A low shielded marker can define an edge. A bollard can distribute light over a wider route but may become visible from more directions. A recessed step or wall light can reveal a level change while keeping the path clear. An adjustable landscape light can target a sign, planting edge or destination, but it requires intentional aiming and spill control. A solar option can avoid a cable route when exposure, nightly duration and maintenance suit the task.
| Route condition | Candidate role | Evidence to compare | Common failure |
|---|---|---|---|
| Straight bounded path | Low marker or shielded path light | Distribution, mounting height and overlap | Bright dots with dark walking transitions |
| Bend or junction | Directional marker at the decision point | Visibility from each approach | Correct branch remains unclear |
| Step or level change | Step, wall or low shielded light | Edge definition and source shielding | Source glare hides the level change |
| Gate or destination | Focused destination and access layer | Identification, task light and spill | Gate is bright but controls remain unreadable |
| Remote route | Autonomous solar path or landscape light | Exposure, operating profile and service plan | Insufficient operation in representative conditions |
Browse the solar garden bollard product route only after the route role is defined. The product route is a starting point, not a substitute for the site plan or exact model documents.
Set Spacing from Distribution, Height and Geometry
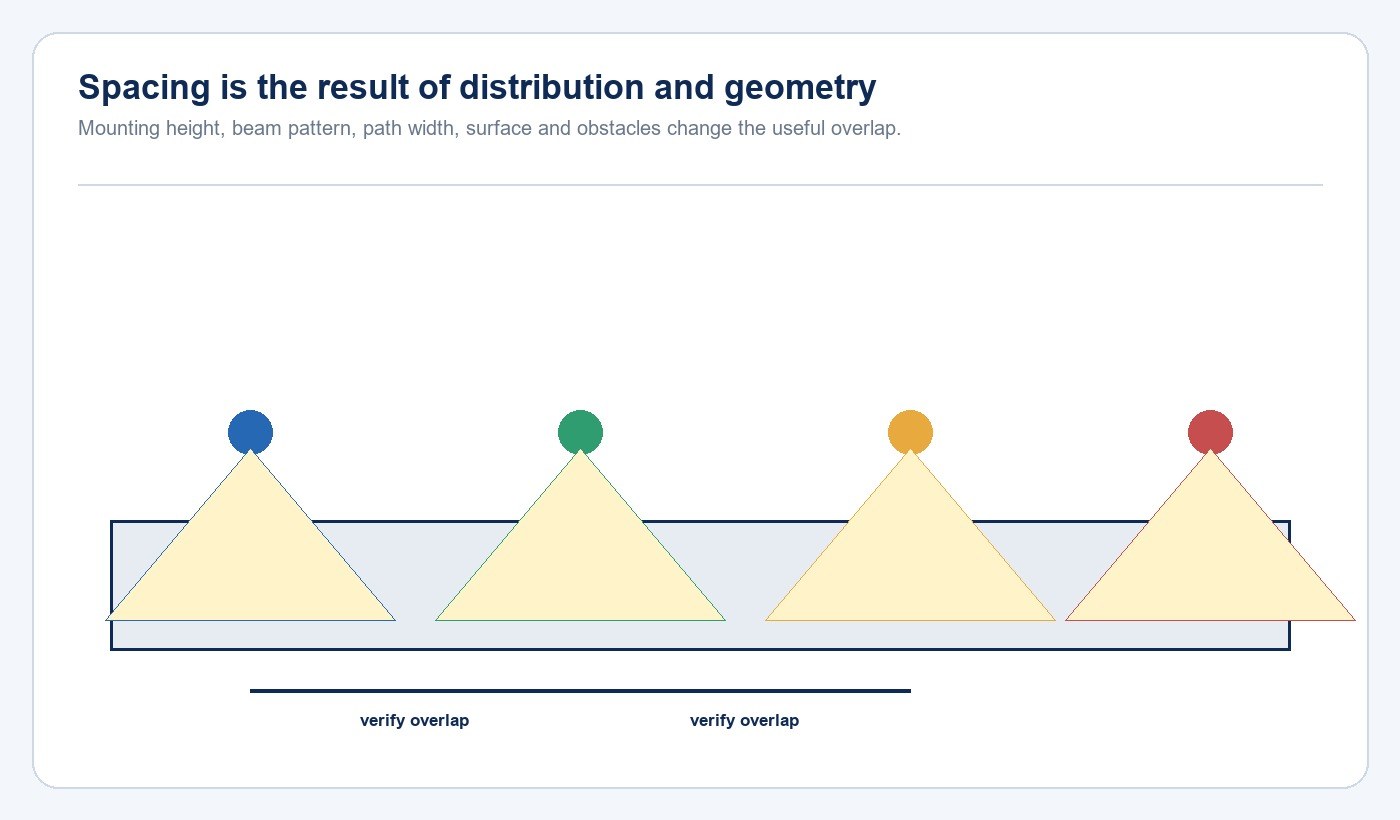
There is no useful universal spacing for pathway lights. The result depends on the selected distribution, mounting height, path width, surface reflectance, route geometry, shielding, obstacles and accepted project criteria. Equal intervals may create a visually regular row while leaving bends, steps or intersections poorly defined.
Treat spacing as an overlap question. Place the first candidates around decision points, then check whether the useful distributions connect along simpler route sections. A taller product may cover more distance but can expose the source to more viewpoints. A wider distribution may reduce fixture count on a straight section but spill beyond a narrow path. Dense planting can interrupt a low beam as it matures.
Match Distribution and Aiming to the Target
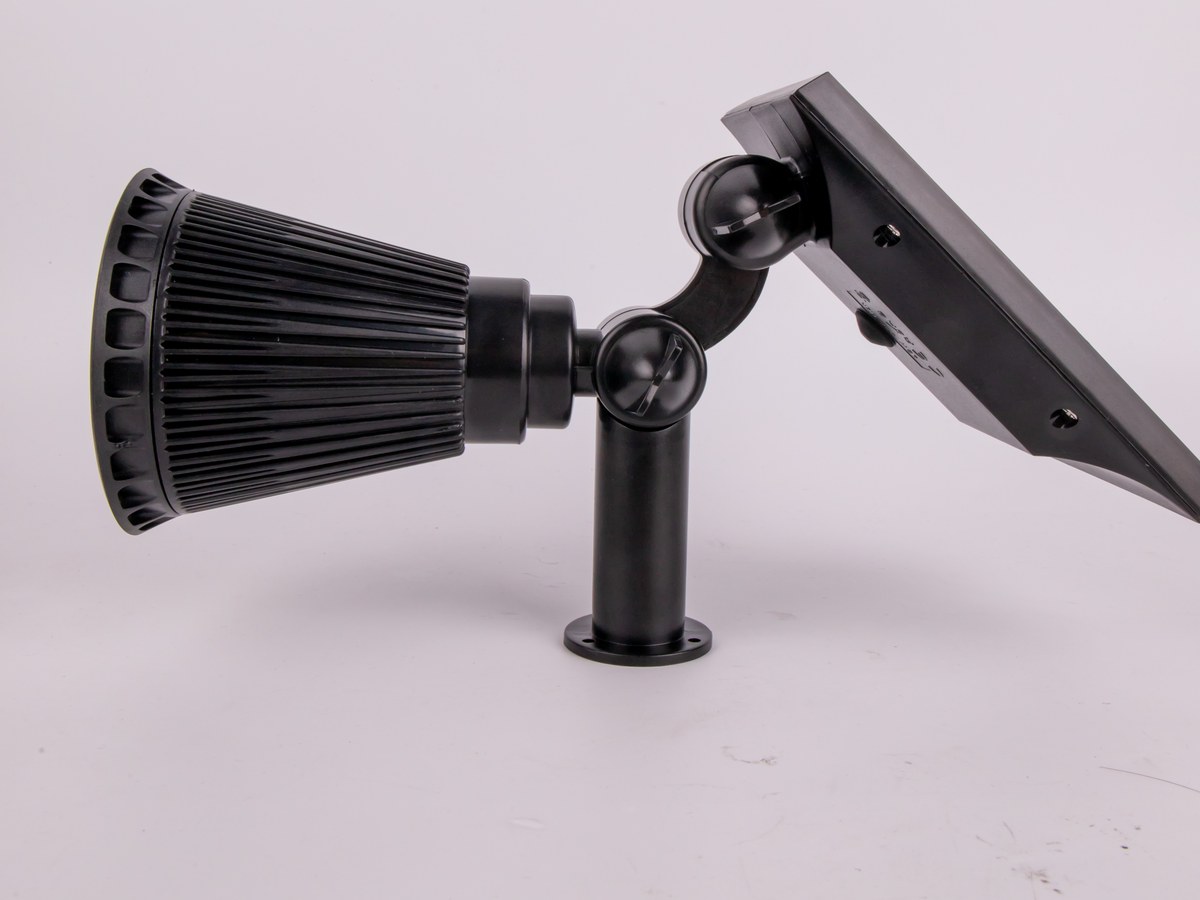
Identify the target surface for every luminaire: walking plane, step face, path edge, wall, gate, sign or selected planting. Then compare photometric information, physical shielding and aiming range for the exact candidate. An adjustable spotlight can be useful when the target is specific, but it should not be used as a general wash simply because it is easy to point.
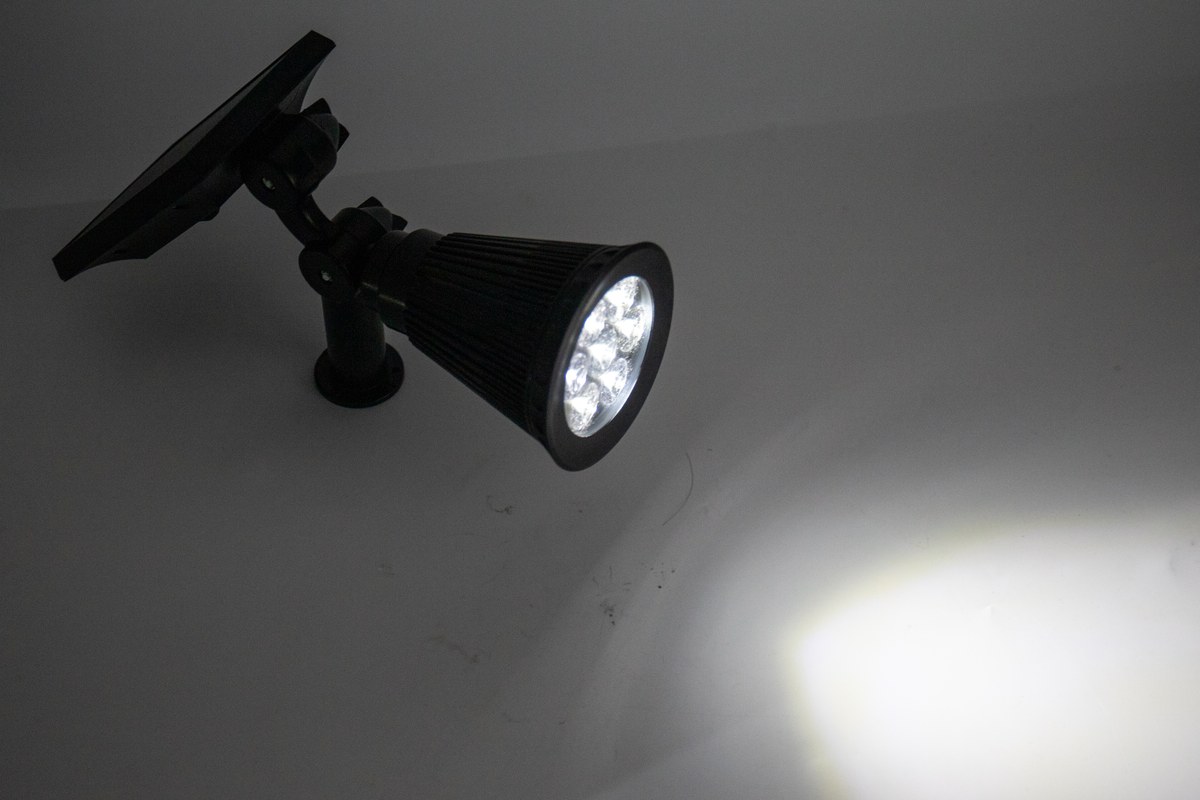
The first-party photograph below shows an adjustable solar landscape light with separate panel and lamp-head articulation. Those visible joints are relevant to placement and aiming; the accepted angle, runtime and distribution still belong to the exact product documentation and project test.
Control Glare from Both Travel Directions
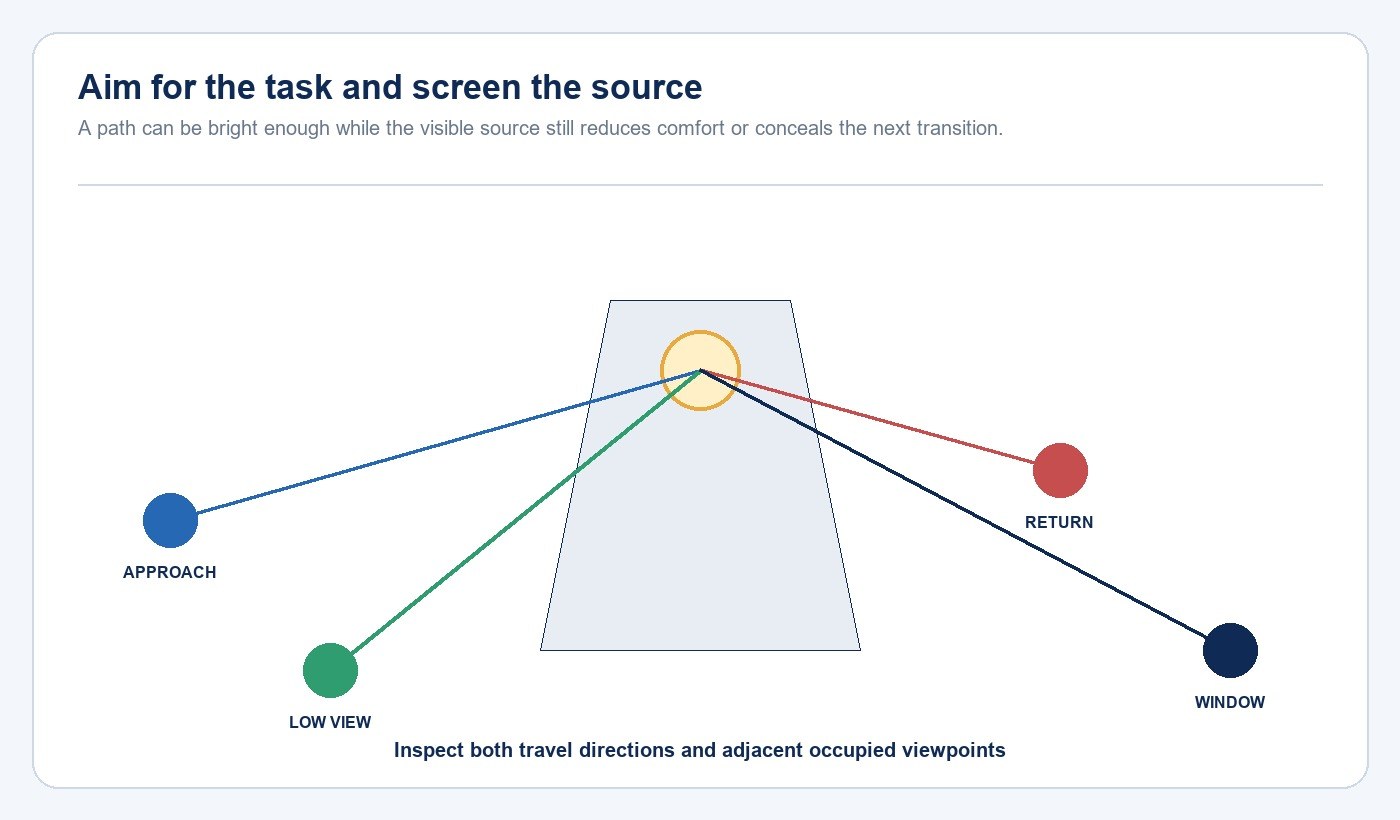
Walk the route in both directions and view each candidate from standing, seated and adjacent-window positions where relevant. A source screened on approach can become exposed on the return trip. A low marker may be comfortable from above but dominant from a nearby chair. Wet or pale paving can add reflected brightness that is absent during a dry daytime review.
DarkSky International and the Illuminating Engineering Society describe responsible outdoor lighting as useful, targeted, low level, controlled and warm-coloured. Convert those principles into acceptance questions: does the light serve a defined route task, land on the intended surface, avoid unnecessary output, operate only when needed and use suitable colour characteristics?
Decide Between Wired and Solar Architecture
Use wired and autonomous solar products according to the operating requirement, not as interchangeable versions of the same fixture. A wired route needs a planned cable path, protection method, isolation, control interface and access for service. A solar route replaces that infrastructure with exposure, panel orientation, battery behaviour, nightly operating profile and battery-service questions.
For solar candidates, inspect shade at the exact location and account for seasonal vegetation. Define the required nightly state and how the route should behave after a low-charge condition. If the route supports critical access, decide whether another lighting layer or operating strategy is required. Do not infer representative runtime from one illuminated photograph.
The illuminated New Lights sample below makes the relationship between lamp-head aiming and the resulting light patch visible. Use that relationship to structure a site test rather than treating the photograph as a model-level performance result.
Plan Controls, Failure States and Maintenance
Define the nightly operating period and the states required at dusk, during normal movement, late at night and during service. Schedules and photosensors can establish the operating window; occupancy response may raise a route layer where appropriate. Record timeout, output state, manual override, return behaviour and recovery after a power or control interruption. U.S. Department of Energy exterior-lighting guidance includes schedules, photosensors, occupancy strategies and commissioning considerations.
Keep fixtures clear of mowing, edging, irrigation spray and drainage routes. Record exact locations so vegetation maintenance does not bury or block low products. For each candidate, identify cleaning access, fasteners, seals, replaceable parts, battery or driver service and the evidence needed to restore aiming after maintenance. The New Lights factory and manufacturing overview provides production context, and the download centre is the route for available product documents.
Commission a Representative Section After Dark
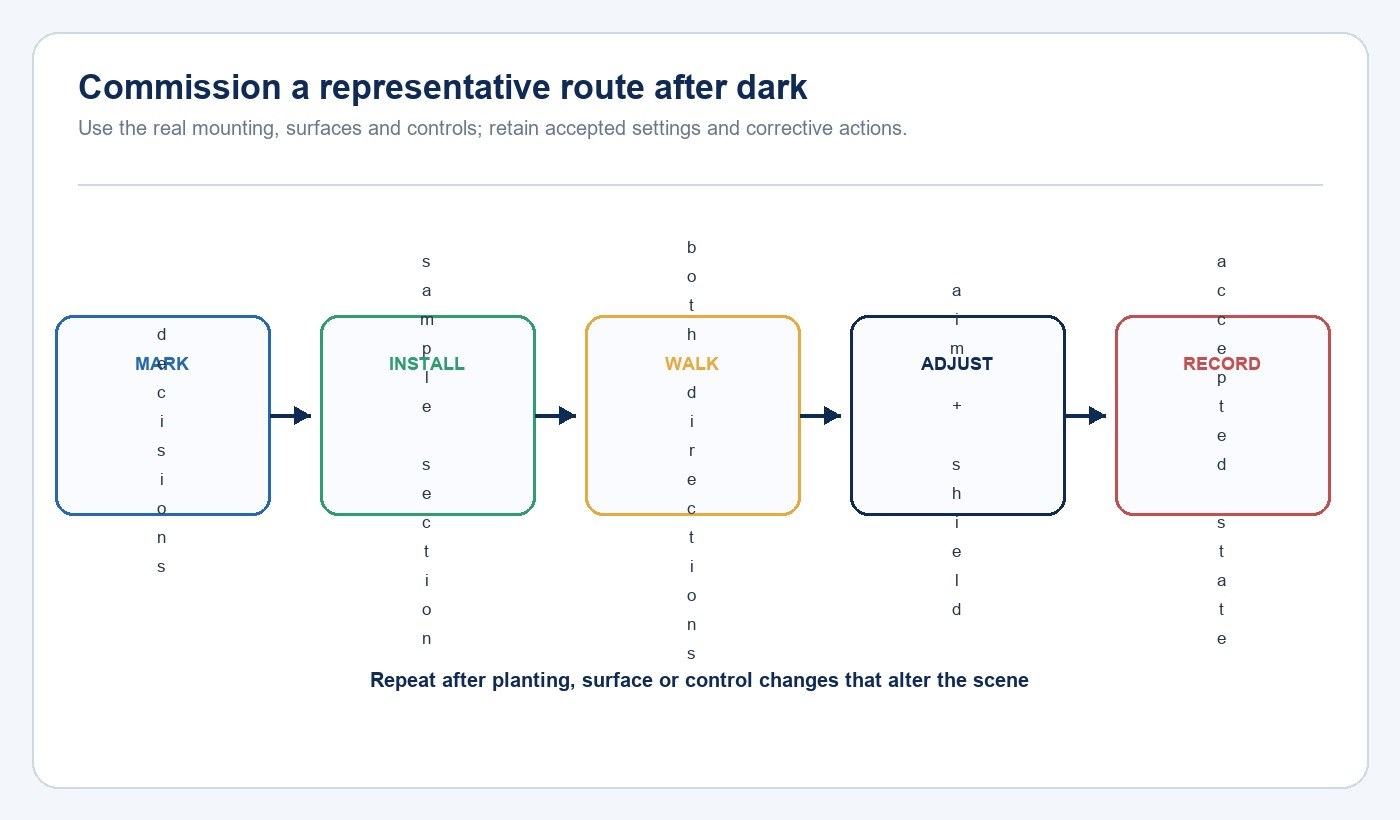
Choose a sample section that includes at least one straight segment and one difficult condition such as a bend, step, junction, gate or planting obstruction. Install at the intended height and orientation. Walk both directions and review route continuity, transition visibility, direct glare, reflected brightness, spill, colour appearance and control behaviour. Include a wet or reflective condition if it materially changes the surface.
Adjust mounting, aiming, shielding and settings before approving the full route. Record the product identity, location, orientation, control state, test condition, accepted result and corrective action. Repeat the review after meaningful planting growth, surface changes or product replacement because these can alter the relationship between source, route and viewer.
Garden Pathway Lighting Checklist
- Mark entrances, turns, junctions, steps, slopes, surface changes and destinations.
- Separate route guidance from decorative landscape layers.
- Assign each luminaire a target surface and visible failure condition.
- Compare distribution, mounting, shielding and aiming for the exact candidate.
- Set spacing from useful overlap and route geometry, not one standard interval.
- Walk both directions and inspect seated, window and reflective viewpoints.
- Match wired or solar architecture to controls, exposure and service requirements.
- Pilot a difficult representative section after dark and retain the accepted setup.
Frequently Asked Questions
How far apart should garden pathway lights be?
No single interval applies. Start at route decisions, then verify useful distribution overlap using the exact luminaire, mounting height, path width, surface and obstacles on a representative section.
Should pathway lights be installed on both sides?
One-sided or alternating placement can work when the route remains legible and glare is controlled. Wider areas, steps or junctions may require a different arrangement; symmetry alone is not an acceptance criterion.
Can solar lights be used along the complete path?
Only when the exact locations provide suitable exposure and the candidate meets the required operating profile and maintenance plan. Critical access may require another architecture or a defined fallback.
What should be tested before approving the layout?
Test route continuity, level changes, source visibility, reflections, spill, controls and service access in the intended nighttime condition. Record the accepted mounting, aiming and settings.
Prepare the Project Brief
Send the route plan, photographs from both directions, path dimensions, steps and surface changes, mounting constraints, wiring or exposure conditions, operating schedule, control sequence, maintenance access and exact product documents. Use the gate and house number lighting guide where the route terminates at an entrance, then submit the scoped requirement through the New Lights project enquiry form.
Editorial Sources
- DarkSky International and Illuminating Engineering Society, “Five Principles for Responsible Outdoor Lighting”: https://darksky.org/resources/guides-and-how-tos/lighting-principles/
- U.S. Department of Energy, “Exterior Lighting Controls Guidance”: https://betterbuildingssolutioncenter.energy.gov/resources/exterior-lighting-controls-guidance












