


A balanced garden and landscape lighting plan protects movement first, then uses a limited hierarchy of planting, material and focal light while preserving useful darkness.
Begin with nighttime viewpoints and pedestrian tasks, not a catalogue of fixtures. Give every luminaire a defined target, aiming limit, operating period and maintenance route. The result should help people read the site without flattening every surface into the same brightness.
Build the Nighttime Hierarchy
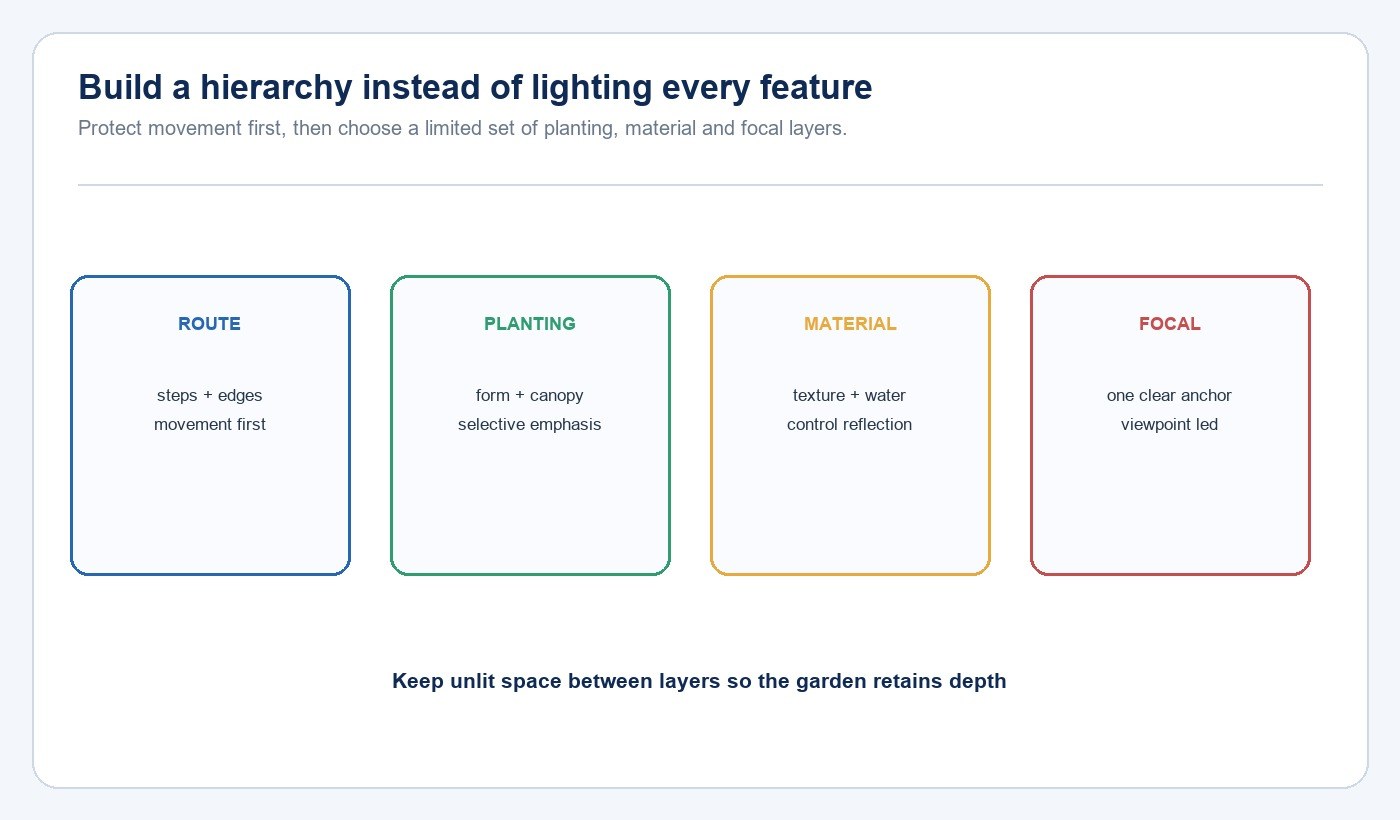
Walk the site after dark and mark the few elements that should lead the view. Protect steps, changes in level and route decisions first. Then choose whether a principal tree, textured wall, water feature, terrace or distant boundary should provide the main visual anchor. Secondary planting can support the composition without receiving equal emphasis.
This article owns whole-garden composition. The narrower garden pathway lighting selection guide covers pedestrian route decisions in more detail, while the Outdoor, Garden & Solar Lighting solution connects landscape work with other exterior applications.
Choose the Technique from the Subject Geometry
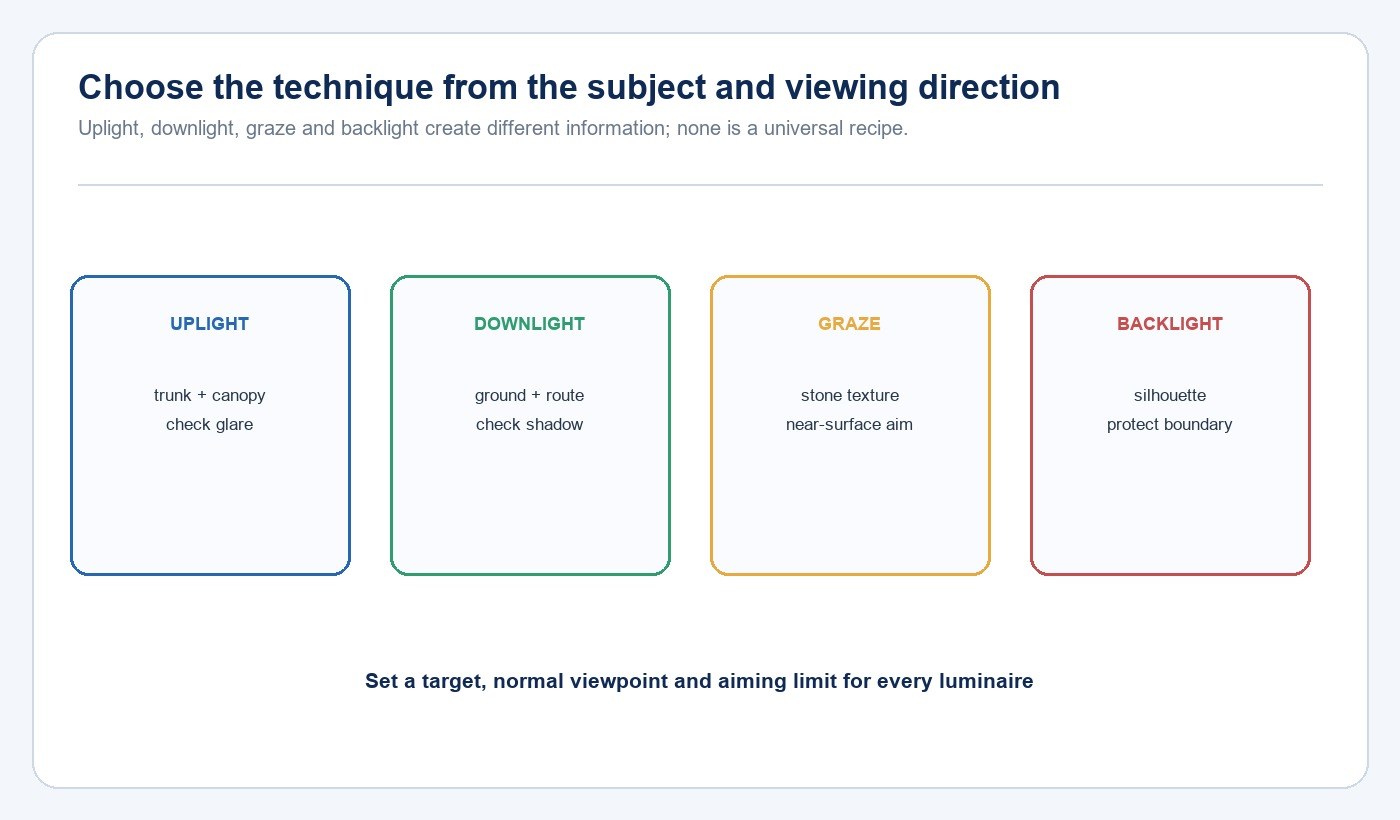
Uplighting can reveal trunk and canopy form, but its source and beam must be kept away from normal sightlines. Downlighting can reveal the ground and suggest a natural direction, yet branches, mounting access and moving shadows affect the result. Grazing can emphasize stone or brick when the source sits close to the surface. Backlighting can create a silhouette when the background and property boundary remain controlled.
Do not convert those techniques into fixed spacing rules. Record the target surface, primary viewpoint, desired edge or texture, likely obstruction and acceptable spill direction. The same fixture can produce a useful or poor result depending on position and aiming.
Control Glare, Spill and Reflected Light
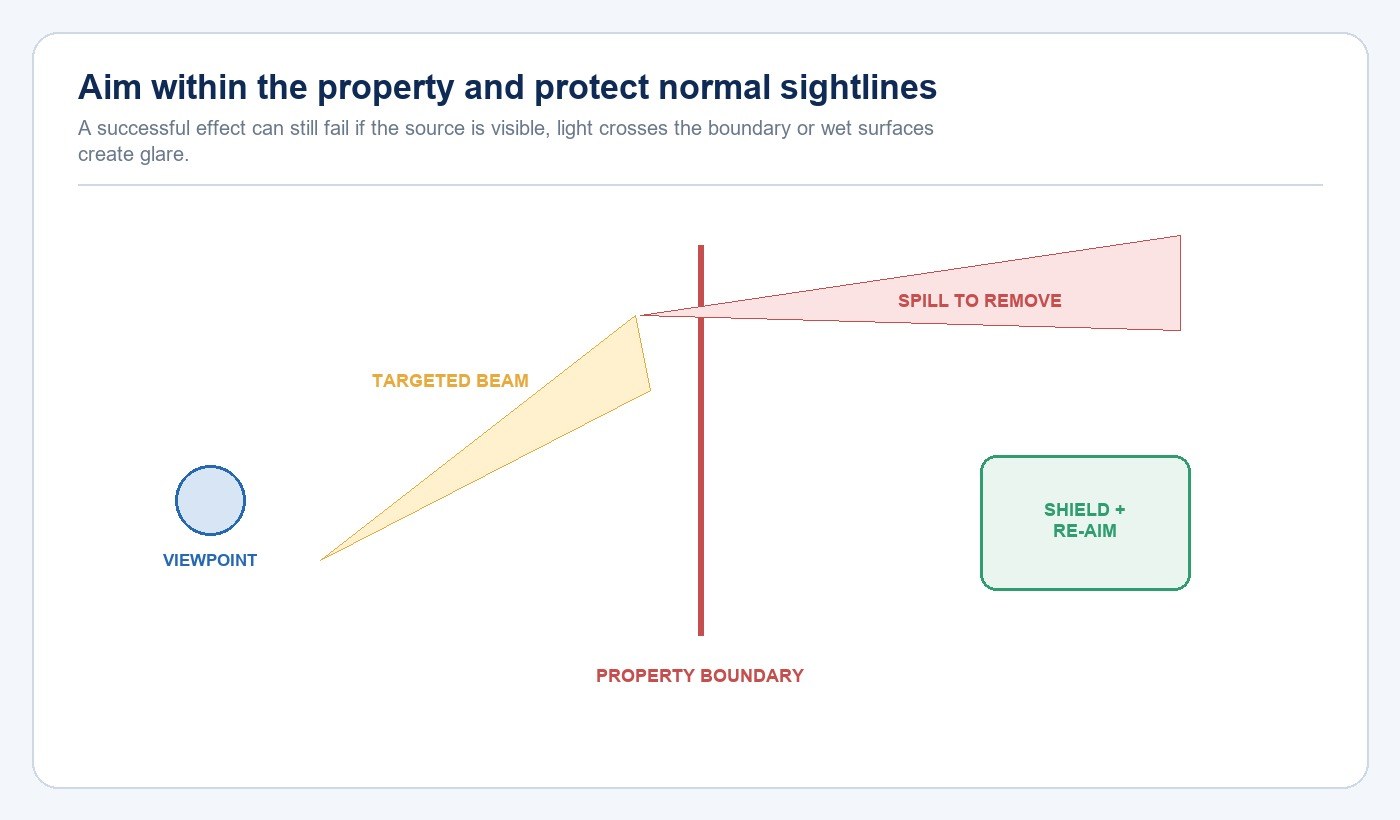
Check the installation from entrances, seating, neighboring windows and the normal walking direction. A source can be hidden from one viewpoint and exposed from another. Wet paving, pale stone, glass and water can return more light toward the eye or sky than the dry daytime review suggests.
DarkSky International and Illuminating Engineering Society describe responsible outdoor lighting as useful, targeted, low level, controlled and warm-colored. Apply that principle as a project test: remove unnecessary targets, shield or re-aim visible sources, use only the output needed, limit operating hours and review shorter-wavelength content against the site and local requirements.
Match Product, Power and Service Strategy
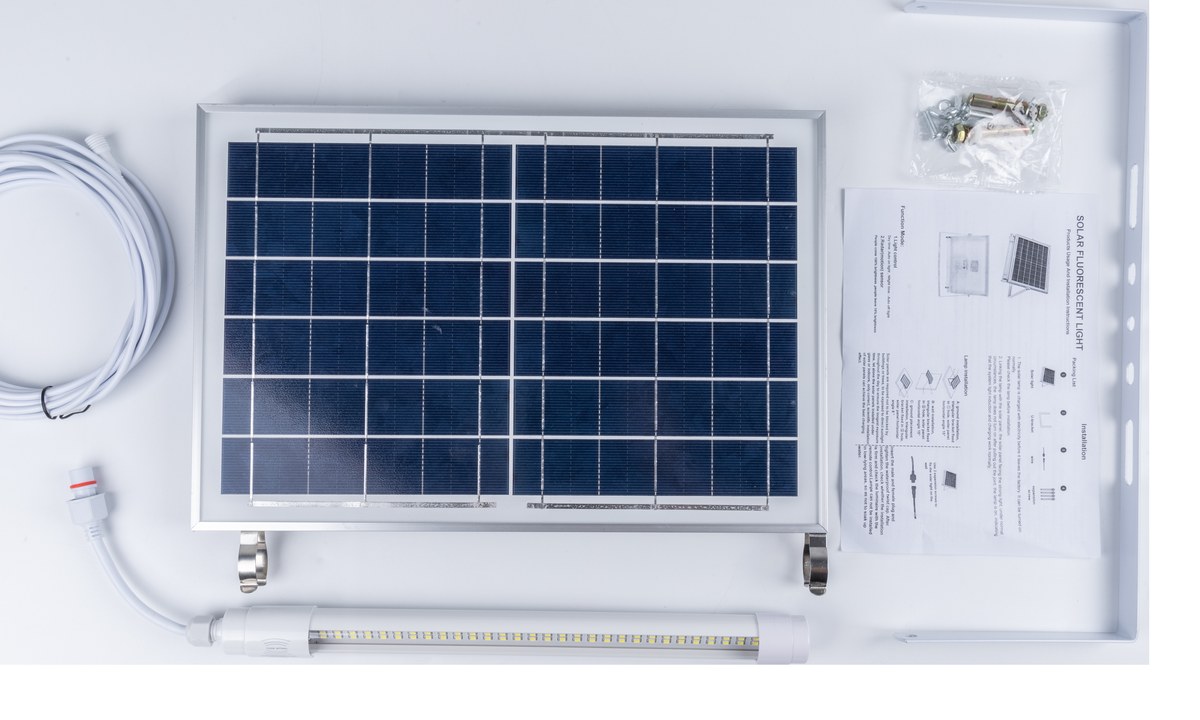
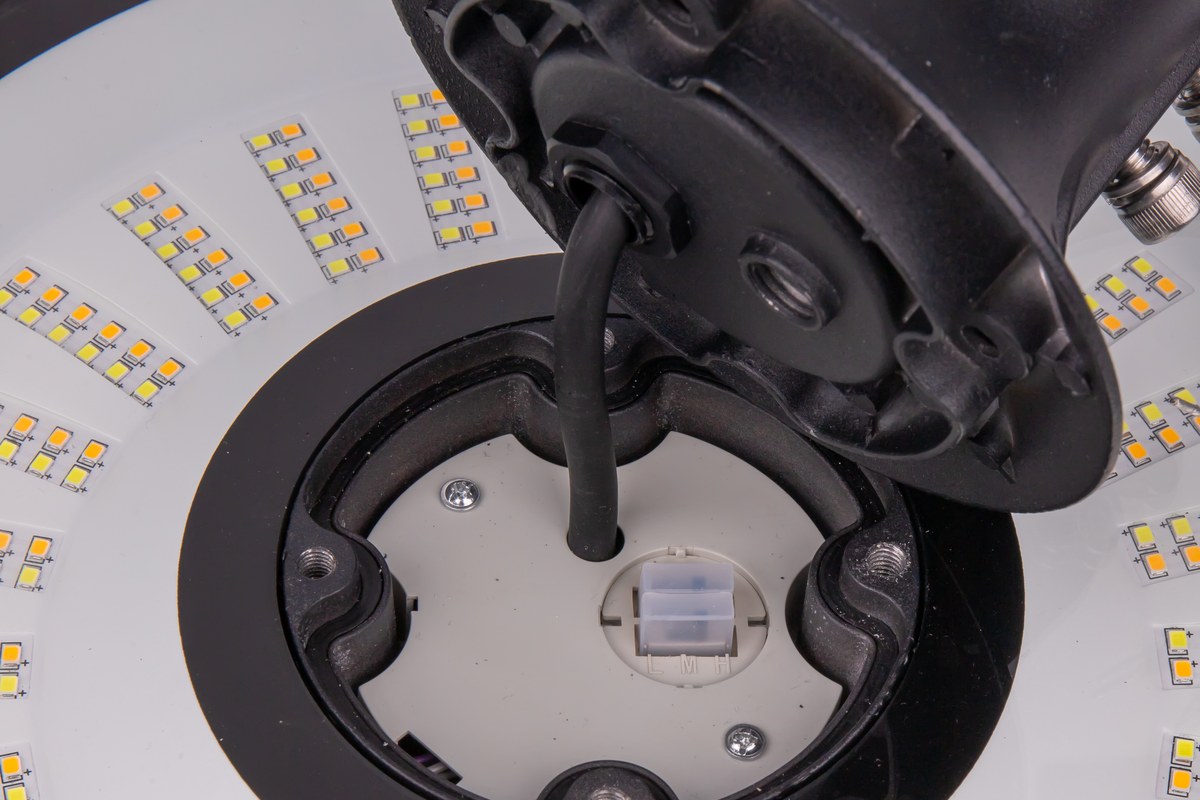
Product appearance does not establish suitability. Compare distribution, aiming range, mounting, cable entry, enclosure evidence, control interface, temperature limits and replacement access for the exact model. Where trenching is impractical, a solar system also needs documented solar exposure, panel orientation, battery and control logic, expected operating schedule and a maintenance route.
| Site condition | Planning question | Evidence to request |
|---|---|---|
| Path or steps | Can direction and level changes be read without exposed glare? | Distribution, mounting and aiming record |
| Tree or planting | Will growth block the beam or service route? | Target plan, mature size and access note |
| Wall or texture | Will position reveal texture without hot spots? | Beam data and representative night sample |
| Remote solar point | Can the energy system support the required schedule? | Panel, battery, load and control information |
| Wet or exposed area | Which environmental risks actually apply? | Ingress, material, cable-entry and temperature evidence |
Plan Controls around Use, Not Convenience
Write the intended state for early evening, late night, vacancy, activity and manual override. A timer may define operating hours, a photosensor may establish the day-night boundary, and an occupancy response may raise output only when needed. The control sequence should state trigger, output, delay, timeout, recovery after power loss and who can change the accepted settings.
U.S. Department of Energy exterior-lighting guidance treats schedules, photosensors and occupancy strategies as options that require commissioning. Test the actual sensor view, sensitivity and timeout rather than accepting factory defaults without a site trial.
Design for Growth, Irrigation and Maintenance
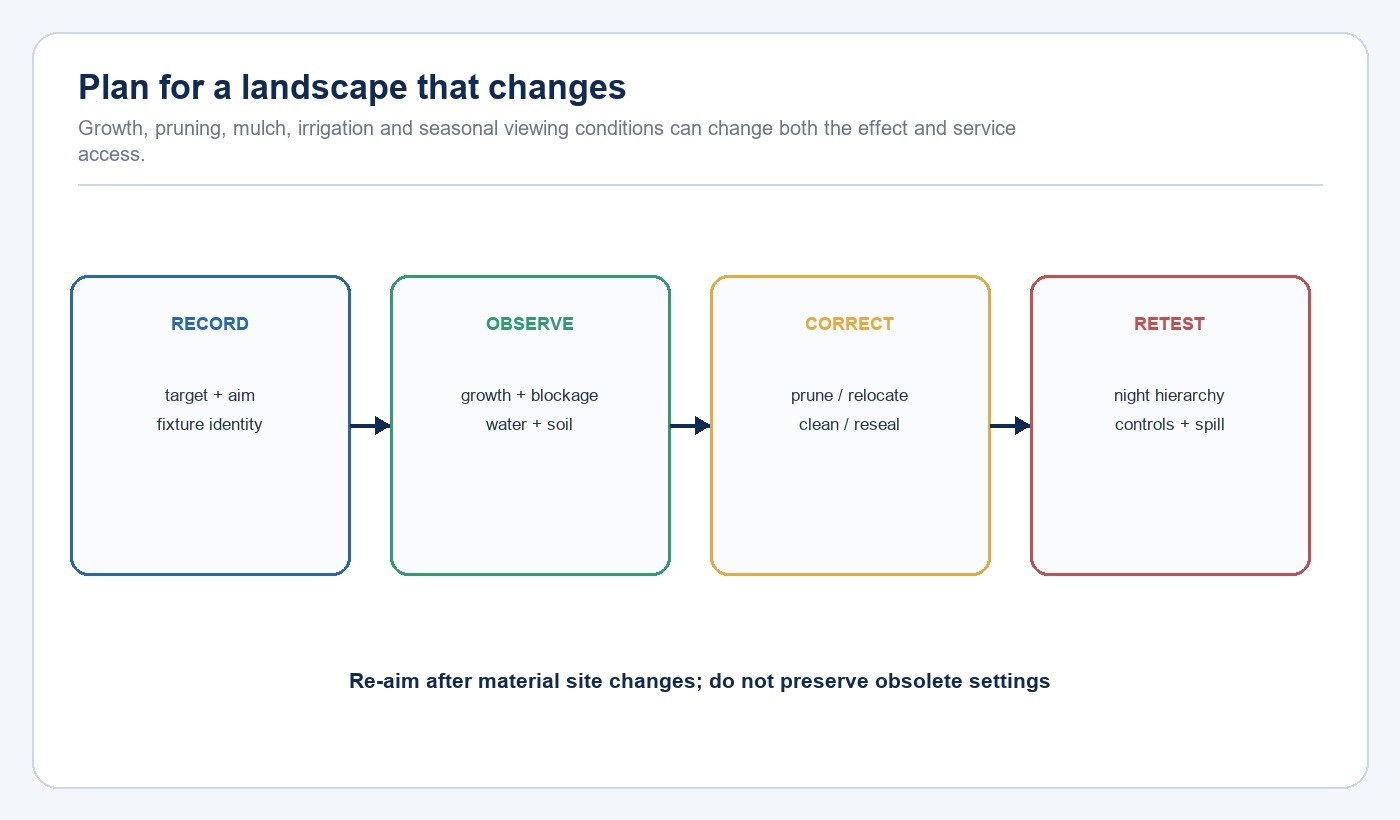
Plants change the optical and physical layout. Record mature size, pruning access, leaf season, irrigation pattern and the likelihood that mulch or soil will cover a low fixture. A beam passing through an open winter canopy may be blocked in summer; a fitting at the bed edge may become inaccessible after planting changes.
Use an aiming schedule with plan reference, luminaire identity, target and accepted setting. Inspect seals, fasteners, cable entries and drainage paths according to the selected product instructions. The New Lights factory and manufacturing overview explains the production context, while the New Lights download centre is the appropriate route for current product documents.
Commission the Scene from Real Viewpoints
Commission after dark with the normal routes, doors, seating and irrigation state represented. Walk toward the site, pause at principal viewpoints and check steps, source visibility, shadows, reflections, spill and control transitions. Record final aiming, output, schedule, sensor behavior, photographs and unresolved exceptions.
| Review point | Observe | Record |
|---|---|---|
| Walking route | Direction, steps, dark adaptation and glare | Viewpoint and accepted setting |
| Focal feature | Hierarchy, beam edge and source visibility | Target, aim and photograph |
| Property boundary | Spill toward neighbors or sky | Correction and retest result |
| Control transition | Trigger, delay, timeout and recovery | Accepted values and owner |
| Maintenance route | Access, vegetation and irrigation conflict | Service instruction and interval |
Garden and Landscape Lighting Checklist
- Walk the site after dark and mark routes, steps and viewpoints.
- Select a limited hierarchy of focal, planting and material layers.
- Give every luminaire a target, viewpoint and aiming limit.
- Check glare, reflections and spill at the property boundary.
- Match product, power and control evidence to the site.
- Plan for plant growth, irrigation, soil, pruning and service access.
- Commission the real nighttime scene and record accepted settings.
- Schedule a review after material landscape changes.
Frequently Asked Questions
How many garden features should be illuminated?
Only enough to establish the intended hierarchy and support movement. Equal emphasis removes depth and increases spill, energy use and maintenance.
Is uplighting appropriate for every tree?
No. The answer depends on target geometry, source visibility, output, spectrum, operating period, ecological context and local requirements.
Should landscape lights stay on all night?
Not automatically. Define useful operating periods and test schedules, photosensors or occupancy responses against the actual site use.
How often should landscape lighting be re-aimed?
Review it after major growth, pruning, irrigation changes or site work and during planned maintenance. The interval depends on the landscape and equipment.
Prepare the Project Brief
Send the site plan, nighttime photographs, target features, routes, operating schedule, power constraints, mounting conditions, control requirements and available product documents. Use the New Lights project enquiry form for a scoped review.
Editorial Sources
- DarkSky International and Illuminating Engineering Society, “Five Principles for Responsible Outdoor Lighting”: https://darksky.org/resources/guides-and-how-tos/lighting-principles/
- U.S. Department of Energy, “Exterior Lighting Controls Guidance”: https://betterbuildingssolutioncenter.energy.gov/resources/exterior-lighting-controls-guidance












