


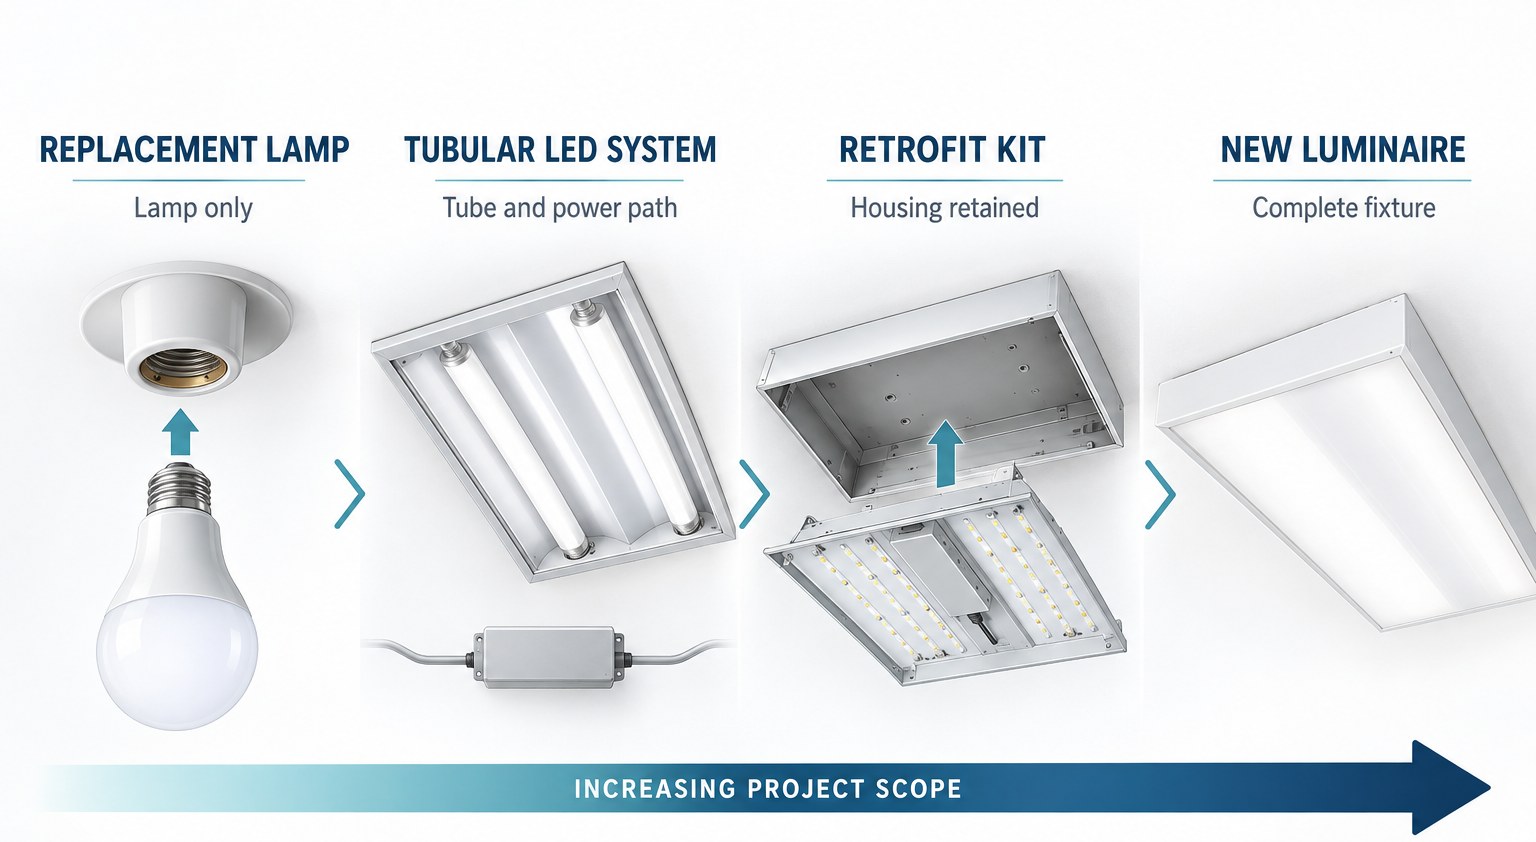
An LED retrofit can be a lamp change, a tubular LED conversion, a listed retrofit kit or a complete luminaire replacement. These are not interchangeable routes. They change different parts of the system and create different requirements for compatibility, electrical work, light distribution, controls, labor and future maintenance.
Start with the existing fixture and the project brief, then select the shallowest retrofit depth that can meet both. A product-first decision often fails because a lamp or tube that physically fits may not work with the existing power components, optics, controls or emergency system.
Audit the existing lighting system first
Create one record for every distinct fixture type. Do not assume that visually identical fixtures contain the same ballast, driver or wiring. The U.S. Department of Energy notes that different ballasts can appear within the same fixture line, which is one reason Type A tubular LED compatibility must be checked by exact combination.
Record the following before requesting a proposal:
- fixture manufacturer, model and label photographs;
- lamp shape, length, diameter, base and quantity;
- ballast, transformer or driver manufacturer and model;
- input voltage, circuit and control system;
- socket condition and known wiring configuration;
- emergency-lighting components or inverter connection;
- reflector, lens, louver and housing condition;
- ceiling type, mounting, access and environmental conditions;
- measured input power and representative light levels;
- operating hours, failure history and maintenance constraints.
The survey turns a vague request such as “replace the fluorescent lights with LED” into a defined engineering and procurement task.
Compare the four retrofit depths
| Retrofit option | Existing parts retained | Main advantages | Main decision gates |
|---|---|---|---|
| Replacement LED lamp | Fixture, socket and most electrical components | Small physical change and familiar maintenance format | Base, dimensions, voltage, thermal conditions, distribution, dimming and fixture suitability |
| Tubular LED system | Fixture housing and usually sockets; ballast retention depends on Type A, B or C | Can reuse much of a fluorescent fixture | Exact power architecture, ballast or driver pairing, sockets, labels, emergency system and photometry |
| Retrofit kit | Existing housing and mounting | More integrated optical and electrical conversion | Approved housing scope, mechanical fit, thermal arrangement, driver, optics, labels and controls |
| New luminaire | Branch connection and building mounting point, subject to project design | Removes dependence on aging internal fixture parts | Ceiling work, wiring, layout, controls, disruption, waste and lifecycle plan |
First cost alone does not identify the best route. Existing component condition, labor access, project duration, controls, expected maintenance and the required lighting result can change the lifecycle decision.
Option 1: replacement LED lamps
A lamp-only retrofit is often appropriate when the fixture is in good condition and its socket, electrical architecture and thermal environment suit the selected LED lamp. The New Lights LED bulb category shows common form factors, but the exact replacement still has to be checked against the fixture.
Match more than the cap or base. Review envelope size, input voltage, light output, beam or distribution, color, dimming, orientation and any enclosed-fixture or environmental marking. A lamp can fit mechanically yet create visible glare, a different beam pattern, poor dimmer behavior or excessive heat inside the fixture.
For recessed downlights, ENERGY STAR guidance specifically directs buyers to check fixture conditions and compatible dimmers. A retrofit downlight may replace the lamp and trim together, so housing diameter, ceiling opening and mounting method also become part of the selection.
Option 2: tubular LED systems
DOE uses three common tubular LED architecture categories. The terminology describes how the tube system receives power; it does not replace the selected product’s installation instructions.
Type A: existing-ballast operation
Type A tubes operate with a compatible fluorescent ballast and contain an internal LED driver. This can reduce installation scope, but compatibility is model-specific. Ballast age, efficiency, flicker behavior, emergency compatibility and future ballast availability remain part of the system decision.
Type B: direct line-voltage operation
Type B tubes operate from line voltage after the fluorescent ballast is disconnected and the fixture is converted according to the product instructions. This is electrical modification, not a routine lamp swap. Socket architecture, single-ended or double-ended supply, fixture labels and post-conversion lamp replacement rules must come from the exact approved system.
Type C: external-driver operation
Type C systems disconnect the fluorescent ballast and use an external LED driver paired with the tubes. Evaluate the tubes and driver as one system, including driver location, thermal conditions, controls, emergency operation and replacement strategy.
The safe LED tube installation guide explains why the retrofit type must be identified before installation. For a broader performance and maintenance comparison, see LED tube versus fluorescent tube.
Option 3: retrofit kits
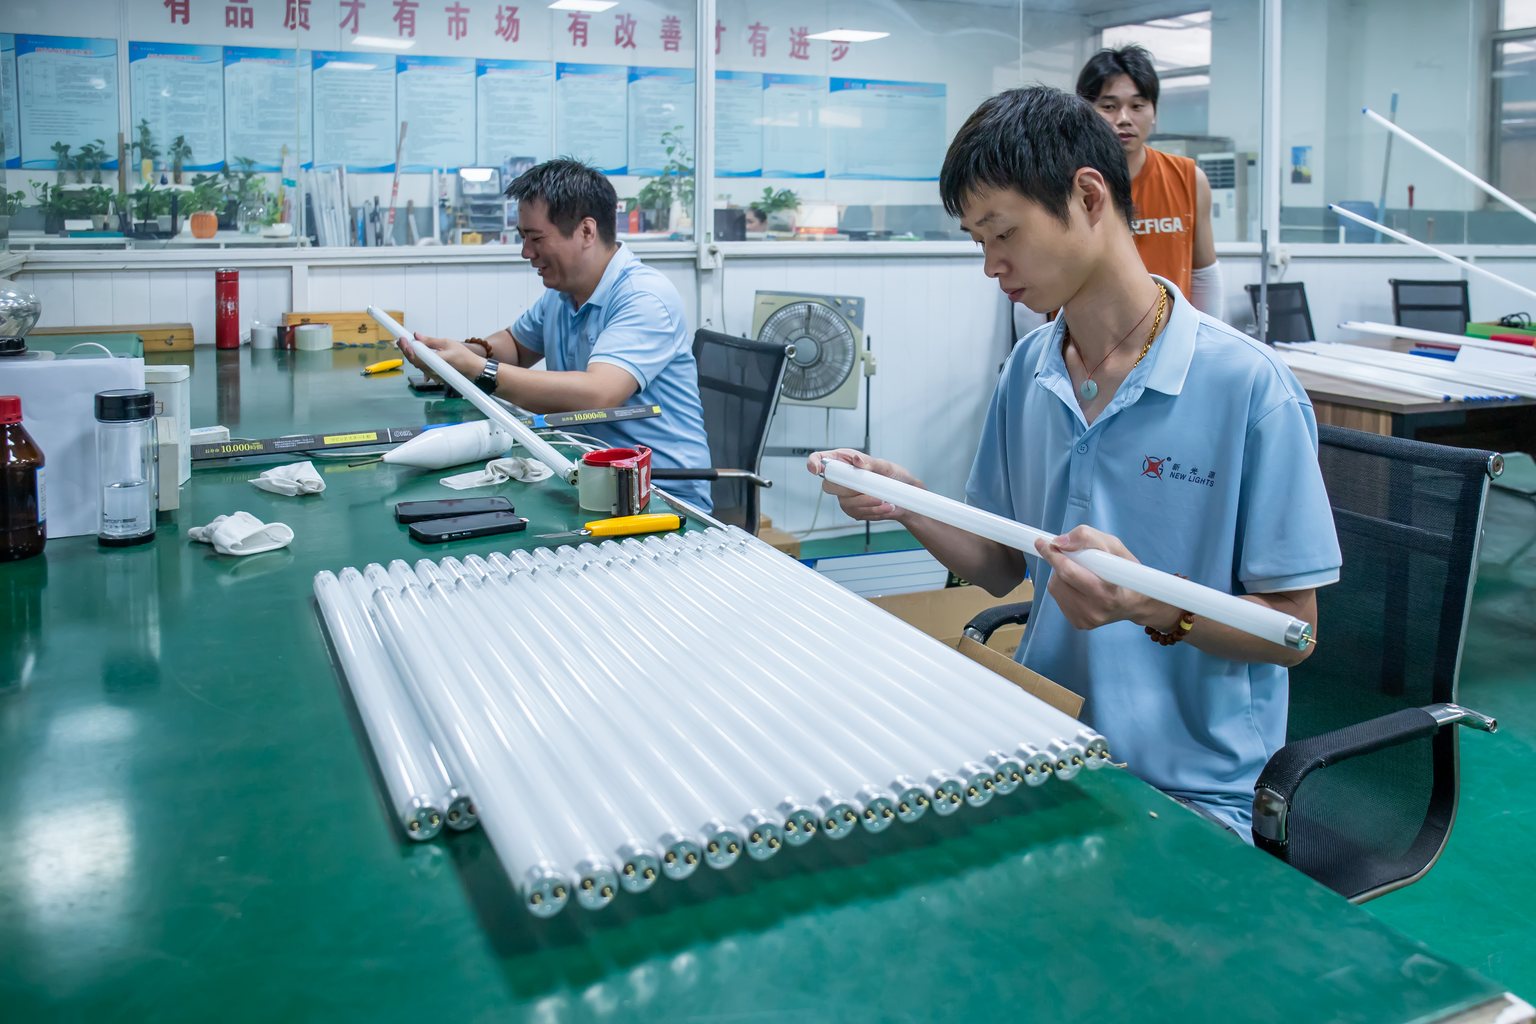
A retrofit kit retains the existing housing while replacing a defined set of internal components. Compared with a lamp-only change, it can provide a more integrated driver, light engine, reflector or diffuser arrangement.
Confirm that the kit is intended for the existing housing type and that the conversion follows its instructions. Review mechanical attachment, component spacing, grounding, driver and control compatibility, thermal conditions, optics, required labels, emergency implications and the applicable certification or listing scope.
Do not assemble unrelated parts and assume the converted fixture keeps the status or performance of the original luminaire. The kit, housing and installation method need a documented relationship.
Option 4: new luminaires
Complete replacement removes dependence on aging ballasts, sockets, reflectors and lenses. It can create a cleaner path to new photometry, controls and service strategy, but it usually increases ceiling work, installation labor and disruption.
Review plenum access, mounting points, branch wiring, ceiling repair, controls, hazardous-material procedures, disposal and commissioning. A new luminaire is not automatically the correct answer: a sound housing with a suitable retrofit kit may reduce construction scope. Equally, preserving a damaged or optically unsuitable fixture can undermine the project.
DOE’s 2022 troffer best-practices resource compares tubular LEDs, retrofit kits and new luminaires as distinct options because their costs, controls and project implications differ.
Validate delivered light, not lamp lumens alone
Equal lamp lumens do not guarantee equal light in the room. The existing reflector, louver or lens interacts with source position and distribution. The converted system can change task illuminance, uniformity, wall brightness, glare and source visibility.
Request photometric data for the exact configuration when available. For repeated or high-risk installations, calculate the layout and test a representative sample or mock-up under comparable conditions. Record task-plane and vertical light levels, visual comfort, color appearance, dimming behavior and emergency-mode output where applicable.
Treat electrical safety as a stop-or-go gate
Turning off a wall switch is not a complete safety procedure for fixed electrical work. In the U.S. workplace context, OSHA 1910.333 addresses de-energizing, lockout or tagout and verification for exposed de-energized parts. The responsible project team must determine the rules that apply to the location, installation and personnel involved.
Stop and resolve the issue if fixture identity, circuit condition, ballast, sockets or wiring cannot be established safely. The article intentionally stays at system-architecture level; terminal connections must come from the exact product instructions and qualified project personnel.
Include controls and emergency operation from the start
A retrofit can affect phase-cut dimmers, 0–10 V controls, sensors, relays, building-management interfaces and emergency circuits. Verify protocol, load compatibility, dimming range, standby behavior, emergency component pairing, test requirements and commissioning responsibility.
A system may operate at full output yet flicker at low dimming levels, fail to switch correctly through a sensor or deliver an unacceptable emergency result. The driver, dimming and control compatibility guide provides a structured review path.
Compare lifecycle scope, not only product price
Build the commercial comparison from the complete project:
| Cost or risk area | Evidence to collect | Why it changes the decision |
|---|---|---|
| Survey and design | Fixture schedule, room plan and baseline measurements | Defines how many real conditions exist rather than assuming one fixture type |
| Product and accessories | Exact model, driver, sockets, frame, suspension or kit contents | Prevents omitted components from appearing later as variation costs |
| Installation | Labor method, access, shutdown and ceiling work | A low-cost product can create high installation cost |
| Lighting result | Photometric file, calculation and sample record | Tests distribution and glare rather than comparing bare-lamp lumens |
| Controls and emergency | Compatibility evidence and commissioning plan | Identifies system behavior outside normal full-output operation |
| Maintenance | Expected service items, spare strategy and labeling | Determines whether future staff can identify the converted system |
| Energy | Baseline system power, proposed system power, controls and operating hours | Supports a project-specific estimate instead of a universal saving percentage |
Build the approval file before rollout
The final submittal should include:
- existing-condition inventory and photographs;
- selected product codes and compatibility documents;
- datasheets and installation instructions;
- photometric files, calculations and sample findings;
- applicable certification or listing records with model scope;
- fixture-modification and relamping labels where required;
- control and emergency test results;
- commissioning, maintenance and spare-parts plan;
- approved change-control process for substituted components.
For supplier and manufacturing context, review the New Lights factory and manufacturing page. To request a model-level recommendation, contact New Lights with fixture photographs, label data, lamp and ballast models, room layout, control requirements and destination market.
Frequently asked questions
Can every fluorescent fixture use a ballast-compatible LED tube?
No. Type A compatibility depends on the exact tube and ballast combination. Check the manufacturer’s compatibility documentation and the condition of the existing system.
Does direct wire mean I can remove the ballast myself?
No. Direct wire describes an electrical architecture, not authorization or competence to perform the work. Follow the exact product instructions and applicable requirements with qualified personnel where required.
Is a retrofit kit the same as a replacement lamp?
No. A kit replaces a defined set of components inside an existing housing and has its own mechanical, electrical, thermal and approval scope.
When should the complete luminaire be replaced?
Consider replacement when the housing, sockets, optics, wiring or control architecture is unsuitable, or when a new luminaire better meets the project brief. Confirm this through site, lighting and lifecycle review.
Will equal lamp lumens create equal room light?
Not necessarily. Fixture optics and source distribution affect delivered light, glare, uniformity and wall illumination. Validate the complete converted system.
Can the existing emergency system remain?
Only when compatibility and required emergency performance are confirmed for the proposed retrofit. Test and document the complete emergency arrangement.
How should retrofit energy savings be calculated?
Compare measured or verified baseline system power and operating hours with the proposed complete system, including control behavior. Lamp wattage alone is insufficient.
Should every fixture in a building use the same retrofit route?
No. Fixture condition, use, access, controls and photometric requirements can vary by area. One building may need more than one retrofit depth.
Editorial sources
- U.S. Department of Energy / Better Buildings, “LED Retrofit Kits, TLEDs, and Lighting Controls: An Application Guide”: https://betterbuildingssolutioncenter.energy.gov/resources/led-retrofit-kits-tleds-and-lighting-controls-application-guide
- U.S. Department of Energy / Better Buildings, application guide PDF: https://betterbuildingssolutioncenter.energy.gov/sites/default/files/attachments/led_troffer_retrofit_guide.pdf
- U.S. Department of Energy / Better Buildings, “LED Troffer Retrofit Lighting and Controls Best Practices”: https://betterbuildingssolutioncenter.energy.gov/resources/led-troffer-retrofit-lighting-and-controls-best-practices
- U.S. Department of Labor, OSHA, “1910.333 — Selection and use of work practices”: https://www.osha.gov/laws-regs/regulations/standardnumber/1910/1910.333
- ENERGY STAR, “Light Fixtures (Downlights)”: https://www.energystar.gov/products/light_fixtures












