

Outdoor wall and entrance lighting should help a visitor find the correct destination, cross the threshold and use the door hardware without looking into a dominant light source. Begin with the route and doorway tasks, then choose distribution, mounting and controls.
Define the Arrival Tasks from the Real Approach
Walk the site from parking, the public path, an accessible route and any service approach. Record where a visitor first needs to identify the building, where direction changes, where the doorway becomes visible and where the visitor stops. A wall light that looks balanced from the pavement may leave a side approach or recessed threshold unresolved.
List the actions at the door: read a number or sign, see a step, locate a handle, use an intercom, present a credential, unlock the door or receive a parcel. These are separate acceptance tasks. The wider Outdoor, Garden & Solar Lighting solution provides the application context; this guide owns the wall-and-door interface.
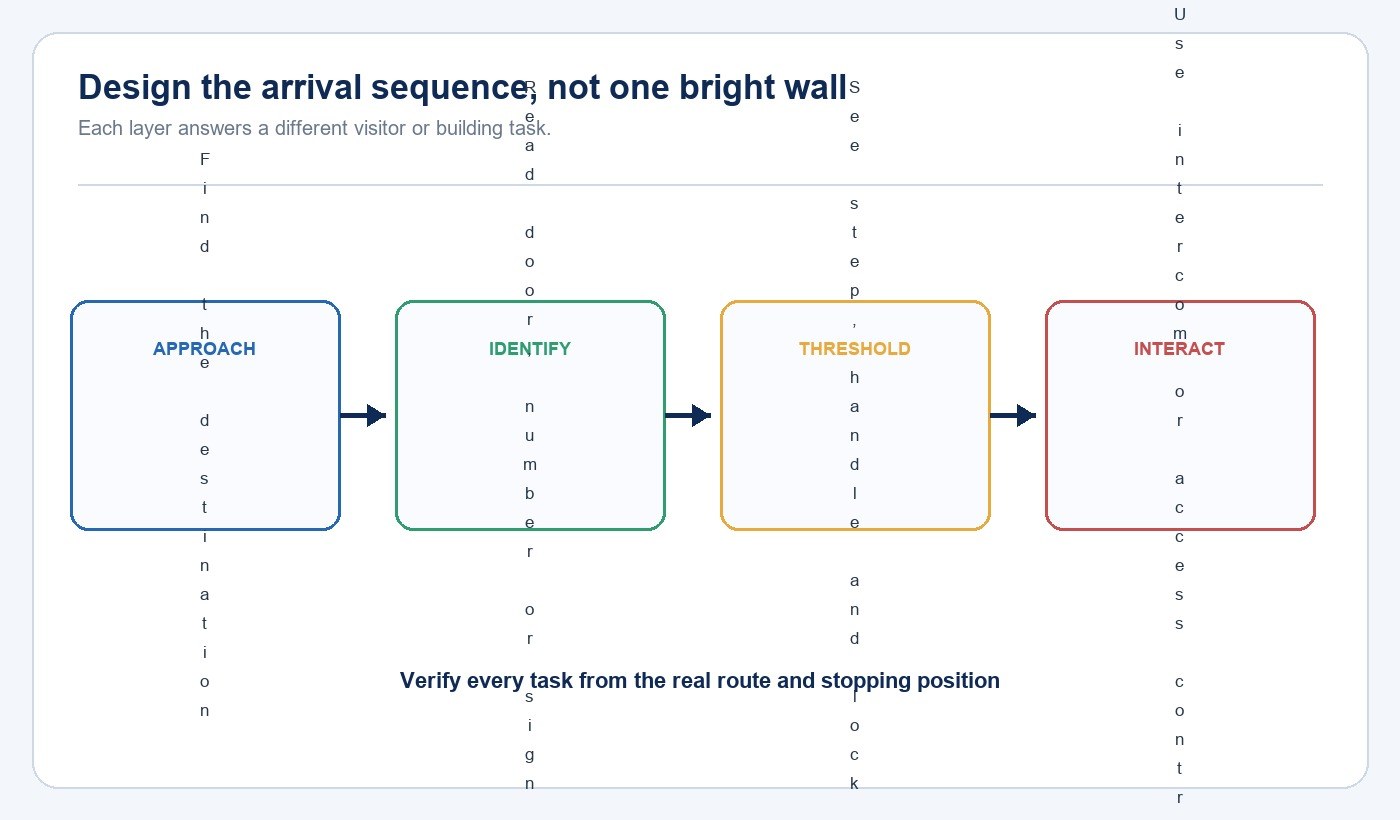
Compare Entrance, Threshold and Façade Lighting
Entrance identification makes the correct destination legible. Threshold lighting supports changes in level and the transition between exterior and interior. Local task lighting serves the handle, keypad, intercom or parcel point. Façade lighting reveals selected planes or materials. One luminaire may contribute to several layers, but the specification should still name the priority task and failure condition.
| Layer | Primary target | Typical failure | Acceptance question |
|---|---|---|---|
| Entrance identification | Door, canopy, sign or address | Building is bright but destination is unclear | Can a new visitor find the correct door? |
| Threshold | Step, landing and transition | Bright wall beside a dark change in level | Is the movement boundary readable? |
| Door task | Handle, lock, keypad or intercom | Body shadow covers the control | Can the task be completed normally? |
| Façade | Selected architectural surface | Hot spots or excessive contrast | Is the intended surface revealed evenly? |
| Camera support | Face and decision zone | Source bloom or deep facial shadow | Does the camera retain useful detail? |
For gate-specific recognition and address placement, continue with the gate and house-number lighting guide. Keep the two intents distinct: this page covers the doorway and wall; the gate guide covers remote arrival and address recognition.
Match Distribution to the Surface and Doorway Geometry
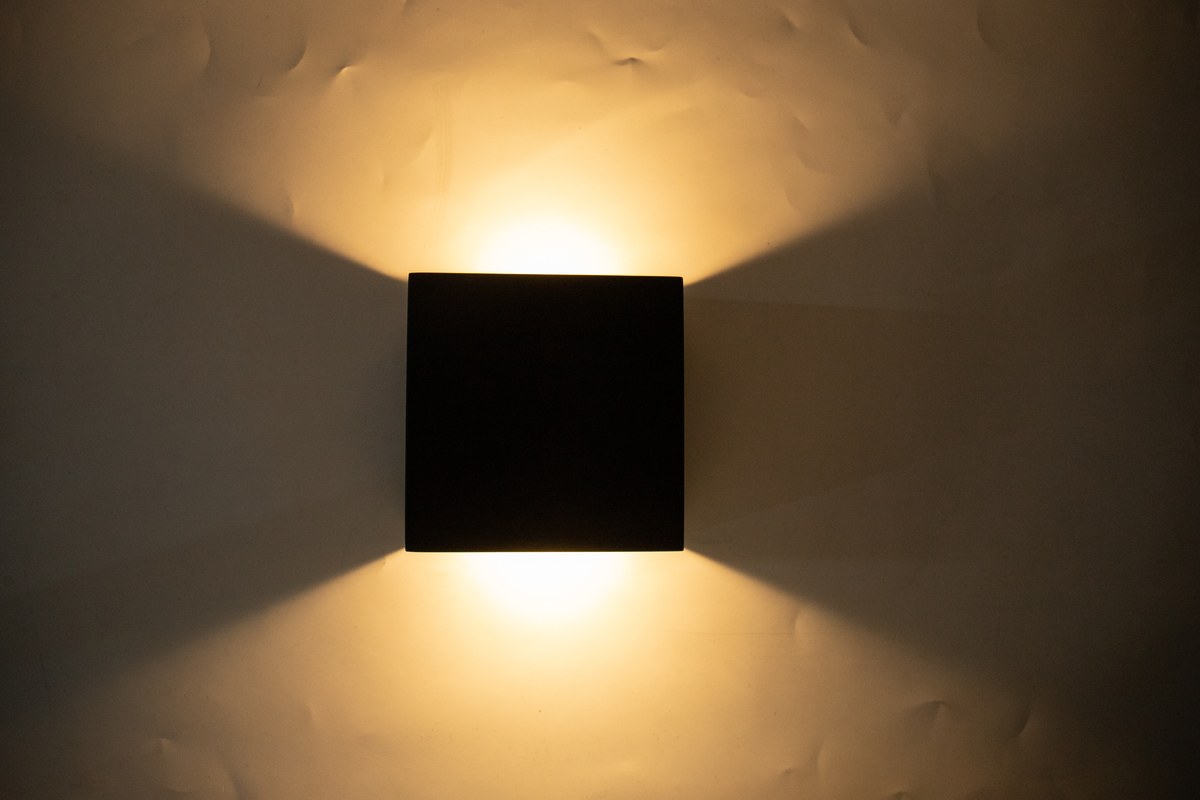
Distribution determines where light goes before total output becomes useful. A narrow down beam can support a threshold but miss a face or sign. An up-and-down pattern can reveal a wall plane while leaving hardware in shadow. A broad diffuse source may soften contrast but remain visible at close range. Compare the exact photometric file or a representative sample; fixture labels alone do not define the result.
Surface finish changes the appearance. Pale stone, glazed tile, metal panels and wet render can return more light toward the observer than dark brick or textured concrete. Canopies, reveals and deep door recesses can intercept a beam. Test the intended mounting height and offset on the actual surface where appearance or glare matters.
Control Source Visibility, Glare and Reflections
Stand at each approach and at the normal stopping position. Repeat at seated eye height where an accessible route or waiting area makes it relevant. A source that is hidden from a distant view may become dominant close to the door. Shield, recess, reposition or reduce it until the task remains visible without the source controlling the scene.
Check nearby glass, polished stone, metal number plates and wet paving. Reflections can create a second glare path. Review the security camera in its actual day/night mode, because a luminaire near the lens or within the frame can change exposure and reduce useful detail on the visitor or doorway.
DarkSky International and the Illuminating Engineering Society describe responsible outdoor lighting as useful, targeted, low level, controlled and warm-coloured. At an entrance, that means directing light to defined tasks, using no more than the accepted level, limiting operating time and controlling shorter-wavelength content where practical and compatible with project requirements.

Verify Mounting, Cable Entry and Weather Exposure
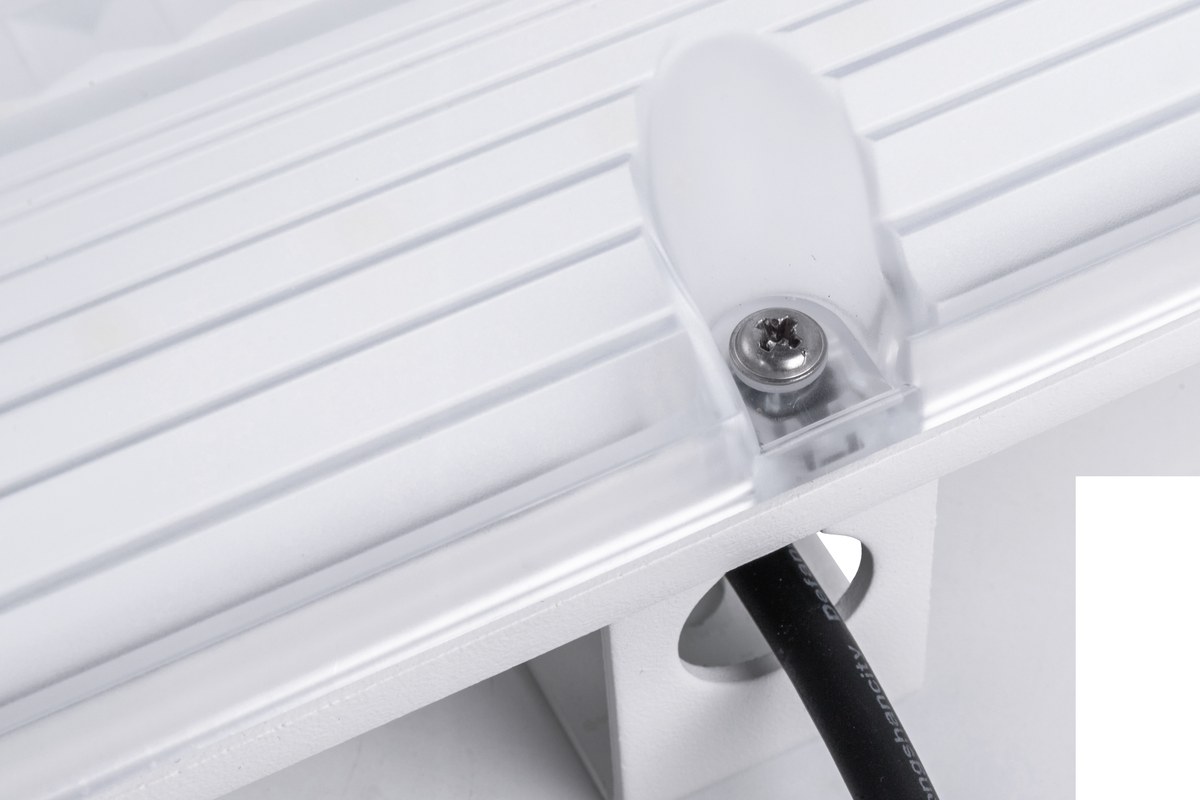
Record the wall substrate, mounting box or bracket, fastener method, cable route, entry direction, drainage path and service clearance. The assembly must be installed according to the exact product instructions. Do not assume that a stated enclosure rating remains valid with an unapproved cable entry, missing gasket, unsuitable fastener or installation orientation.
The International Electrotechnical Commission’s IEC 60529 defines the IP classification system for enclosure protection. It does not select the project requirement or prove suitability for a particular wall, wash-down regime, coastal location or installation detail. The project team must map the exposure and local rules to the exact product evidence.
Choose the Light Engine and Control Architecture
Decide whether the project needs an integrated LED luminaire, a housing with a replaceable lamp, a wired sensor, a photocell, a separate building-control input or an autonomous solar arrangement. The decision changes maintenance, spare parts, commissioning and failure recovery. A documented photocell wall-light housing can begin a replaceable-lamp route, while LED solar wall lamps begin an autonomous route. Neither link establishes site suitability without exact model documents and a sample.
| Architecture | Useful when | Evidence to request | Second-order risk |
|---|---|---|---|
| Integrated LED | Compact optical and thermal design is preferred | Photometry, driver data, replacement policy and warranty scope | Whole-luminaire service path may matter |
| Replaceable lamp housing | Lamp replacement and local sourcing are priorities | Lamp compatibility, enclosure instructions and thermal limits | A later lamp can change distribution or control behaviour |
| Photocell or occupancy sensor | Time or presence should change operation | Detection field, delay, setpoint, override and fallback | Sensor position may not represent the task zone |
| Building-control input | Entrance must coordinate with schedules or security | Protocol, sequence, commissioning and handover data | Network or configuration failure needs a defined state |
| Solar wall system | Wiring is impractical and solar exposure is adequate | Panel orientation, operating profile, battery and seasonal evidence | Canopy or façade shading may reduce available energy |
For service yards, loading points and other work-oriented exterior locations, use the exterior utility-area lighting guide rather than stretching an entrance-lighting decision into a different task.
Write Every Operating and Failure State
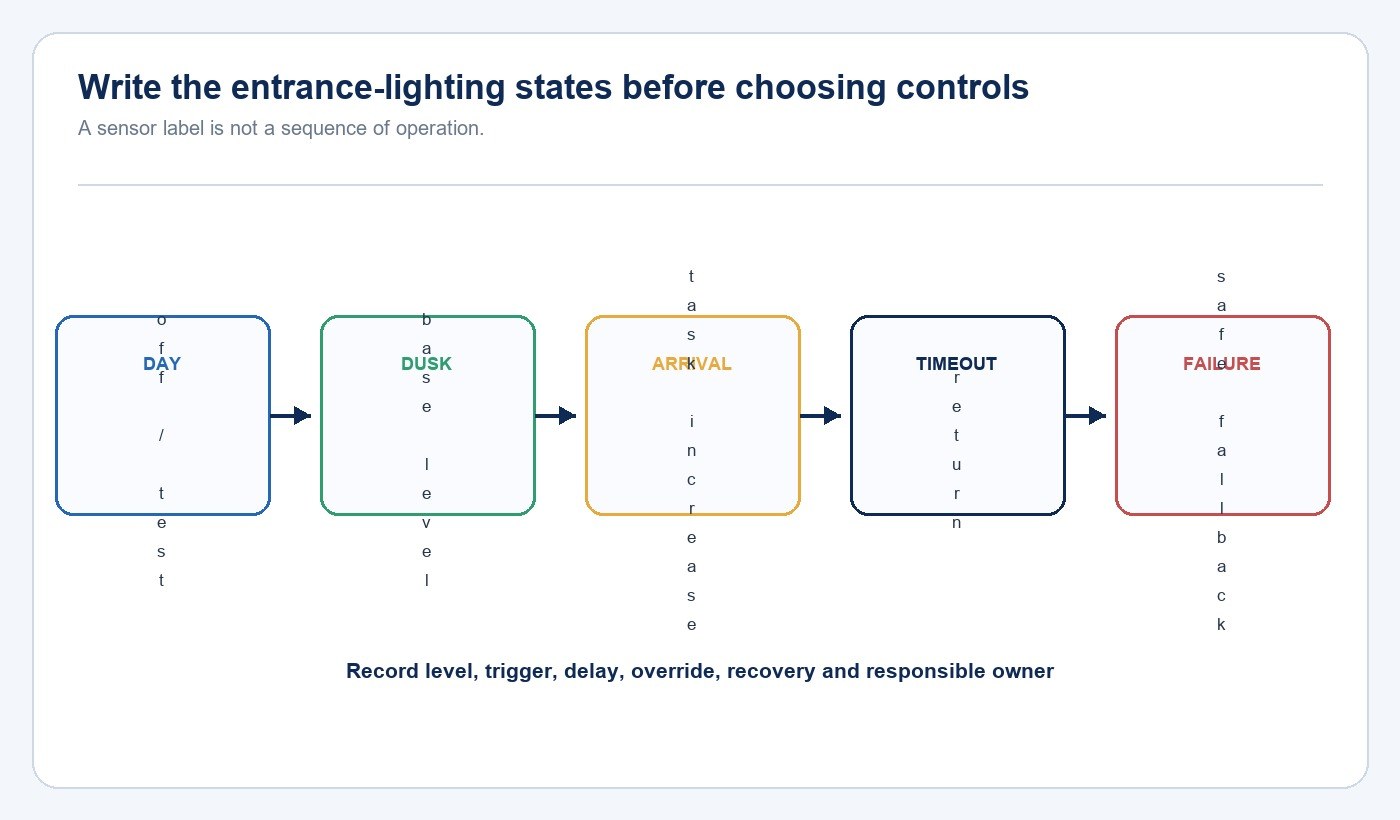
Define daylight, normal night, arrival response, dwell time, late-night reduction, manual override, timeout, power restoration and sensor or network failure. State which entrance layer remains available and which decorative layer can reduce or switch off. A control device name does not explain what the system should do.
U.S. Department of Energy exterior-lighting guidance covers schedules, photosensors and occupancy strategies and emphasizes commissioning sensor location, sensitivity, timeout and programmed response. Record the accepted settings so maintenance can restore them after replacement or troubleshooting.
Commission the Complete Entrance after Dark
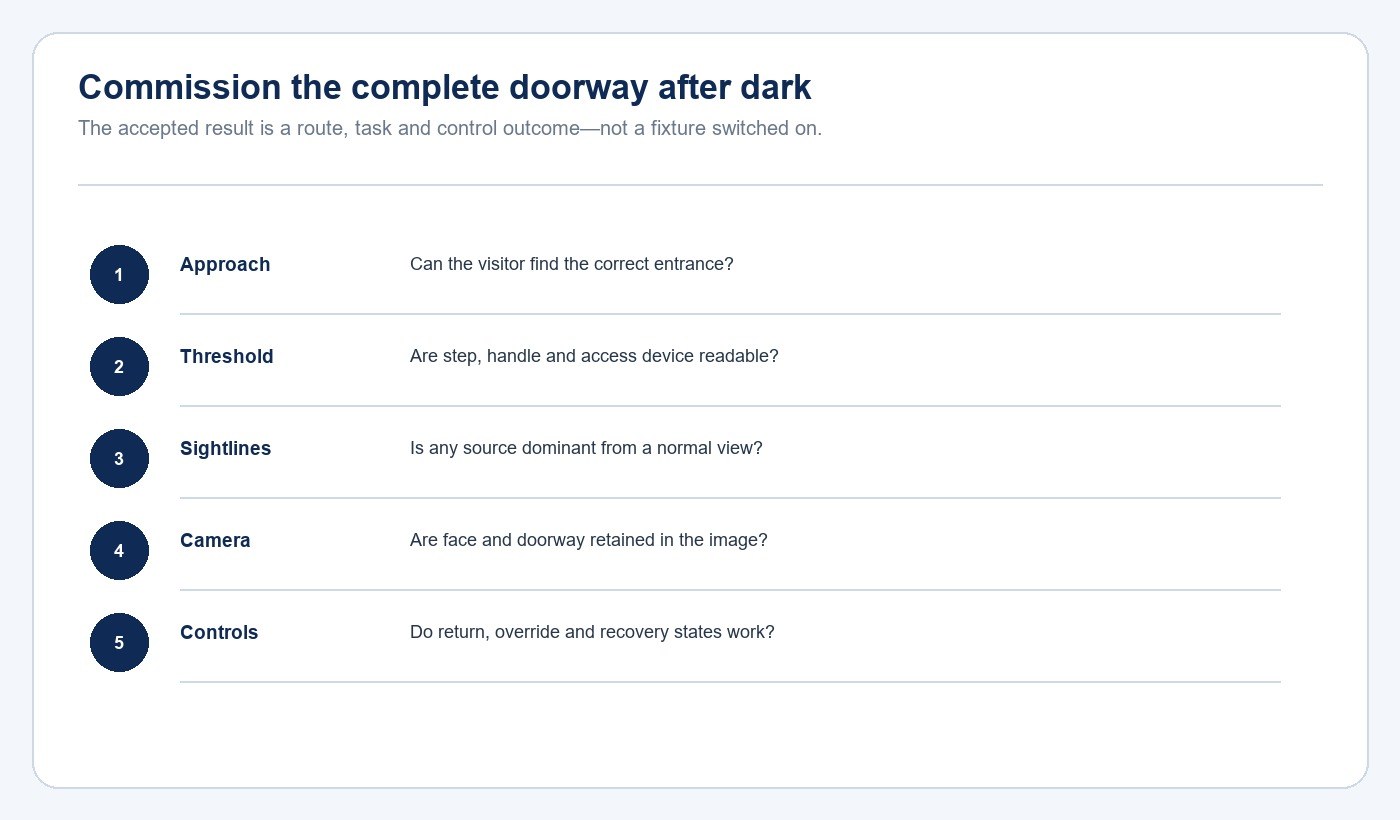
Use representative visitors, vehicles and camera settings. Approach from each required direction, identify the entrance, cross the threshold and operate every door device. Observe direct source visibility, reflections, body shadow and the transition to interior light. Repeat with wet representative surfaces where reflected glare is material.
Record the fixture identity, mounting position, control settings, camera mode, accepted result and corrective action. A successful sample at one easy doorway does not automatically validate recessed, glazed or exposed entrances elsewhere in the project.
Outdoor Wall and Entrance Lighting Checklist
- Map every normal approach and stopping position.
- List the identification, threshold, door-task, façade and camera requirements.
- Compare distribution on the real wall, canopy and doorway geometry.
- Check source visibility and reflections from visitor and camera views.
- Verify substrate, bracket, cable entry, drainage and service access.
- Compare the exact light-engine, control and maintenance evidence.
- Write normal, override, timeout, recovery and failure states.
- Commission the complete arrival sequence after dark and retain the record.
Frequently Asked Questions
Should the entrance be the brightest part of the exterior?
It should be easy to identify from the required approaches, but excessive contrast can create glare and make adjacent steps or faces harder to read. Establish recognition and task visibility before increasing output.
Are up-and-down wall lights suitable beside every door?
No. They may emphasize the wall more than the threshold, handle or visitor. Review the exact beam, mounting position, source visibility and doorway task.
Can a solar wall light work under a canopy?
Only when the panel receives sufficient exposure for the required operating profile and the exact product supports the arrangement. Canopy and façade shading must be assessed at the real site.
What should be retained after commissioning?
Retain product identity, approved mounting and orientation, control settings, test viewpoints, camera state, nighttime photographs, corrections and the responsible maintenance owner.
Prepare the Project Brief
Send the site plan, day and night photographs, approach routes, doorway actions, wall and canopy construction, cable route, exposure, camera position, control sequence and available product documents. The New Lights factory and manufacturing overview provides production context, the New Lights download centre provides current document routes, and the New Lights project enquiry form starts a scoped review.
Editorial Sources
- DarkSky International and Illuminating Engineering Society, “Five Principles for Responsible Outdoor Lighting”: https://darksky.org/resources/guides-and-how-tos/lighting-principles/
- International Electrotechnical Commission, “IEC 60529: Degrees of protection provided by enclosures (IP Code)”: https://webstore.iec.ch/en/publication/2452
- U.S. Department of Energy, “Exterior Lighting Controls Guidance”: https://betterbuildingssolutioncenter.energy.gov/resources/exterior-lighting-controls-guidance