

Retail lighting should be specified by visual task and merchandise zone before fixture families are selected.
A store presents façades, faces, labels, shelves, textures and colour from different directions. One average illuminance value cannot describe all of those tasks. A workable brief separates ambient orientation, vertical presentation, accent hierarchy, fitting or service work and circulation, then connects each layer to target surfaces, optics and controls.
Map Retail Tasks to Zones
Begin with a reflected ceiling plan and merchandising layout, but add a zone schedule that names the primary target surface and viewing direction. The storefront may need vertical presentation from outside; perimeter walls need even coverage of graphics and goods; gondolas need light on shelves and labels; feature displays need controlled contrast; fitting rooms need balanced vertical light around the person; and service areas need dependable task visibility.
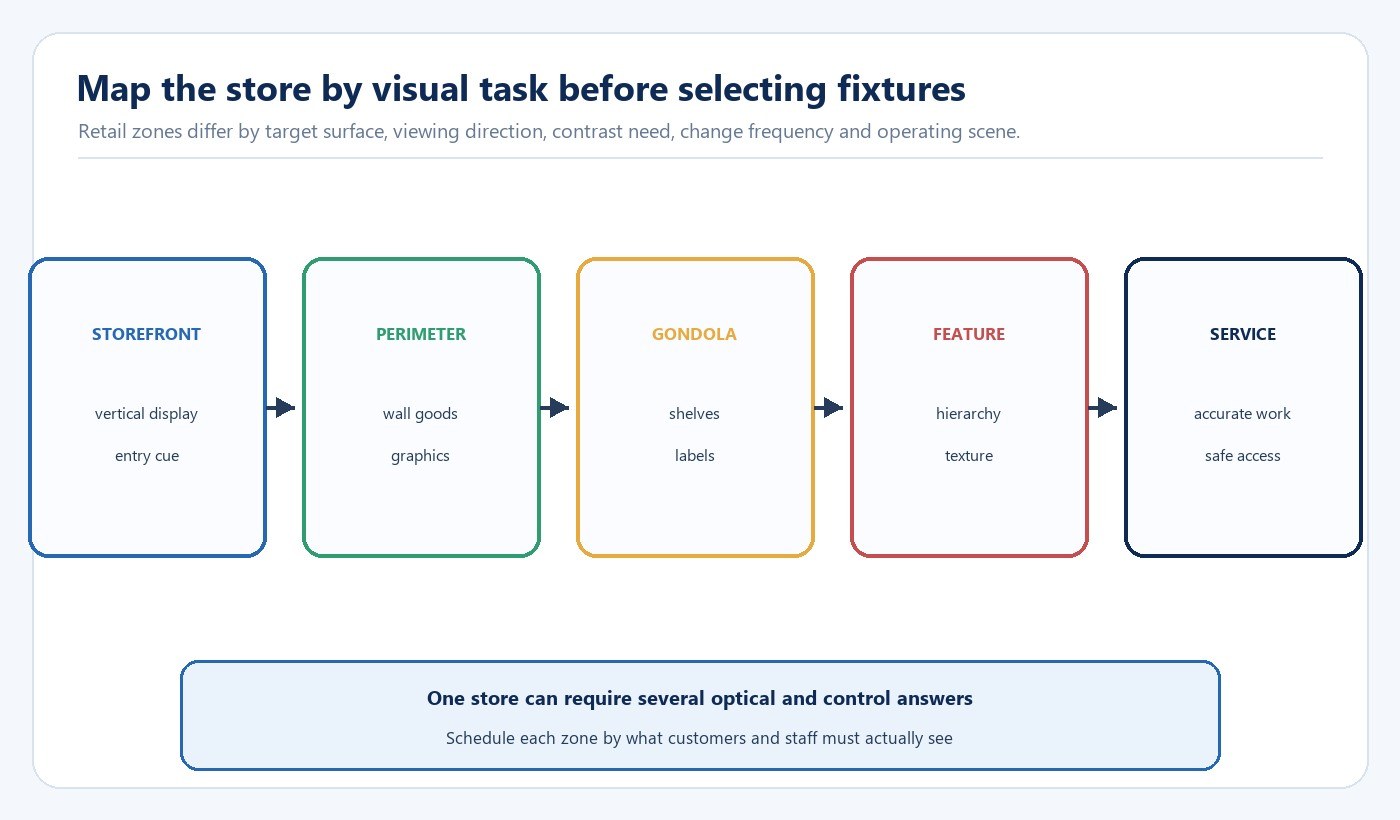
Record merchandise sensitivity, expected display changes, operating hours and who owns adjustments. This prevents a lighting layout from being technically complete but operationally rigid. The Commercial & Retail Lighting solution provides the broader application context, while this guide owns the zone-to-optic-and-control decision.
| Zone | Primary target | Typical lighting layer | Change to plan for |
|---|---|---|---|
| Storefront | Displays, graphics and entrance | Vertical presentation plus accent | Day, evening and closed scenes |
| Perimeter | Wall merchandise | Wallwash plus selective accents | Changing shelf and graphic heights |
| Gondola | Shelves, labels and faces | Ambient light with vertical reach | Aisle layout and stock height |
| Feature display | Hero product and texture | Aimed accent lighting | Frequent re-aiming |
| Fitting room | Face, body and garment | Balanced vertical lighting | Mirror position and occupancy |
| Service area | Counter or work plane | Task plus ambient lighting | Independent operation |
Use Optics to Put Light on the Intended Surface
Beam labels are only a starting point. Mounting distance changes the footprint; aiming angle changes its shape and intensity distribution; shielding changes glare and spill; and surrounding brightness changes perceived contrast. A narrow distribution can create hierarchy, but it also exposes aiming errors and hard edges. A wider distribution can improve coverage while reducing emphasis or sending light onto circulation and ceiling surfaces.
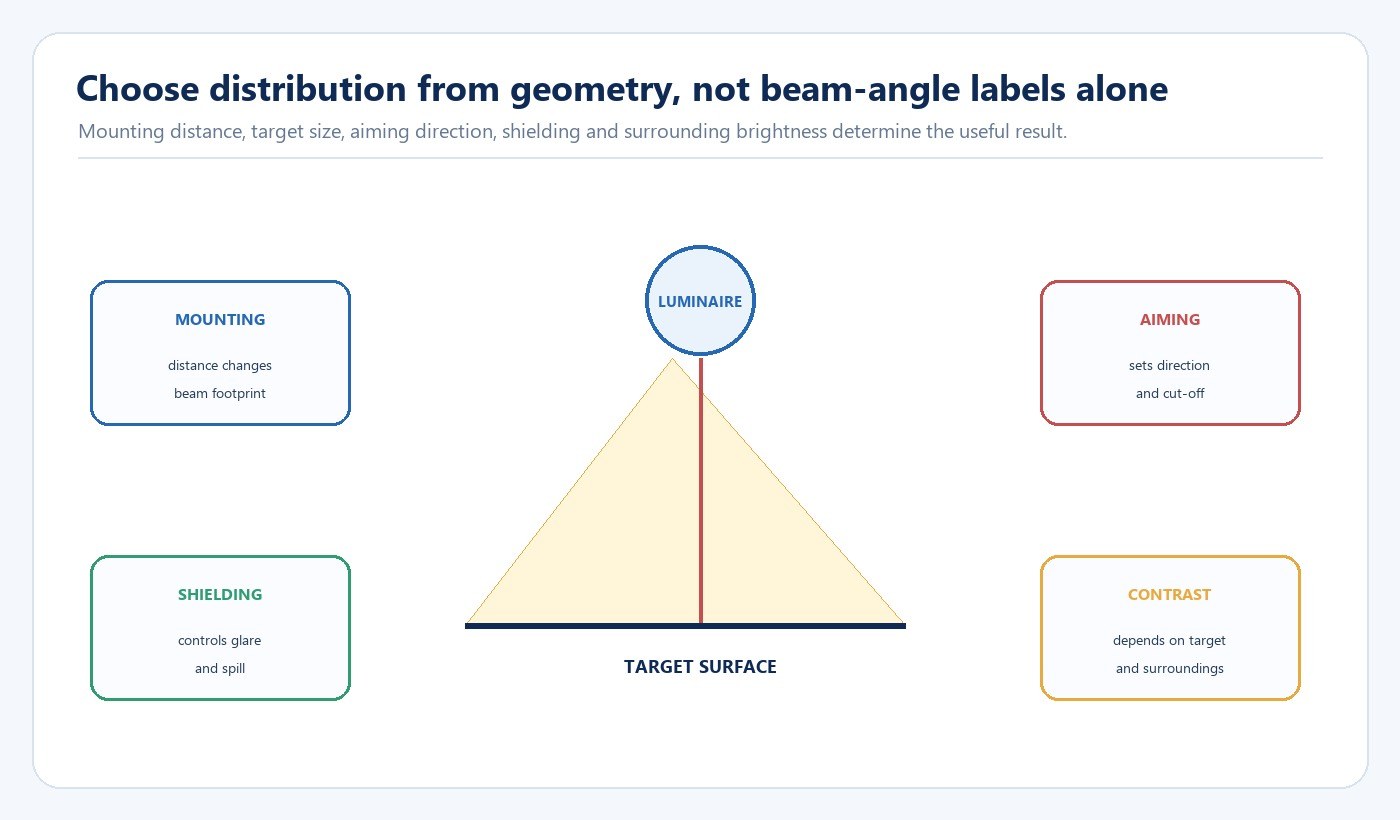
The Illuminating Engineering Society describes retail lighting through horizontal and vertical illuminance, uniformity, glare, colour and merchandise-space techniques in ANSI/IES RP-2-20. Use the applicable project criteria rather than copying one number across every zone. Request photometric files for the proposed optic and calculate the actual mounting and aiming arrangement.
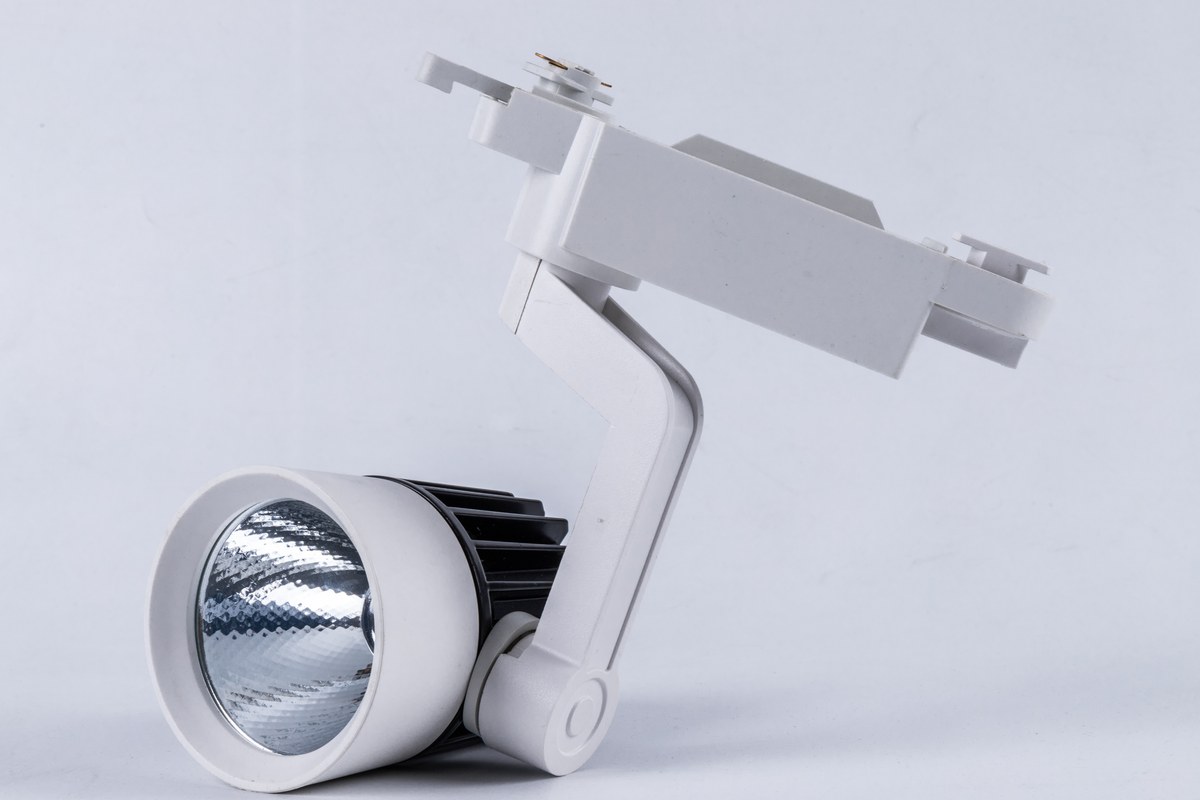
If a replaceable lamp format suits the maintenance strategy, review the housing, lamp and dimming system as separate compatibility decisions. The GU10 LED spot bulb family is a relevant lamp option, but the exact combination still depends on the selected housing and project requirements.
Review Colour on Representative Merchandise
Colour appearance is not described by correlated colour temperature alone. State the desired appearance, identify colour-sensitive merchandise, and compare production-intent samples on the actual textiles, food, finishes, graphics or skin-tone references that matter to the store. The CIE now recommends reporting its General Colour Fidelity Index alongside the established General Colour Rendering Index during the transition to newer colour-quality metrics.
Check adjacent zones together. A source that looks acceptable in isolation can make a neighbouring area appear dull or create an unintended colour boundary. Record acceptable variation and the replacement policy so later maintenance does not gradually change the presentation.
| Review item | Test condition | What to compare | Release evidence |
|---|---|---|---|
| Merchandise colour | Representative goods and finishes | Fidelity, preference and consistency | Approved sample and scene |
| Skin and mirrors | Normal viewing positions | Facial modelling and reflections | Fitting-room observation record |
| Adjacent zones | All relevant layers operating | Brightness and colour transitions | Zone-to-zone acceptance notes |
| Replacement | Approved and alternate sources | Visible variation after service | Replacement specification |
Build Control Scenes Around Store Operations
Start with objectives rather than devices. Define opening, trading, replenishment, cleaning, event and closed modes; then assign ambient, vertical, accent, signage and service loads to each scene. Decide which changes are scheduled, occupancy-driven, daylight-responsive or manual. The U.S. Department of Energy lighting-controls guidance uses the same objective-first logic before system capabilities, communications and documentation are selected.
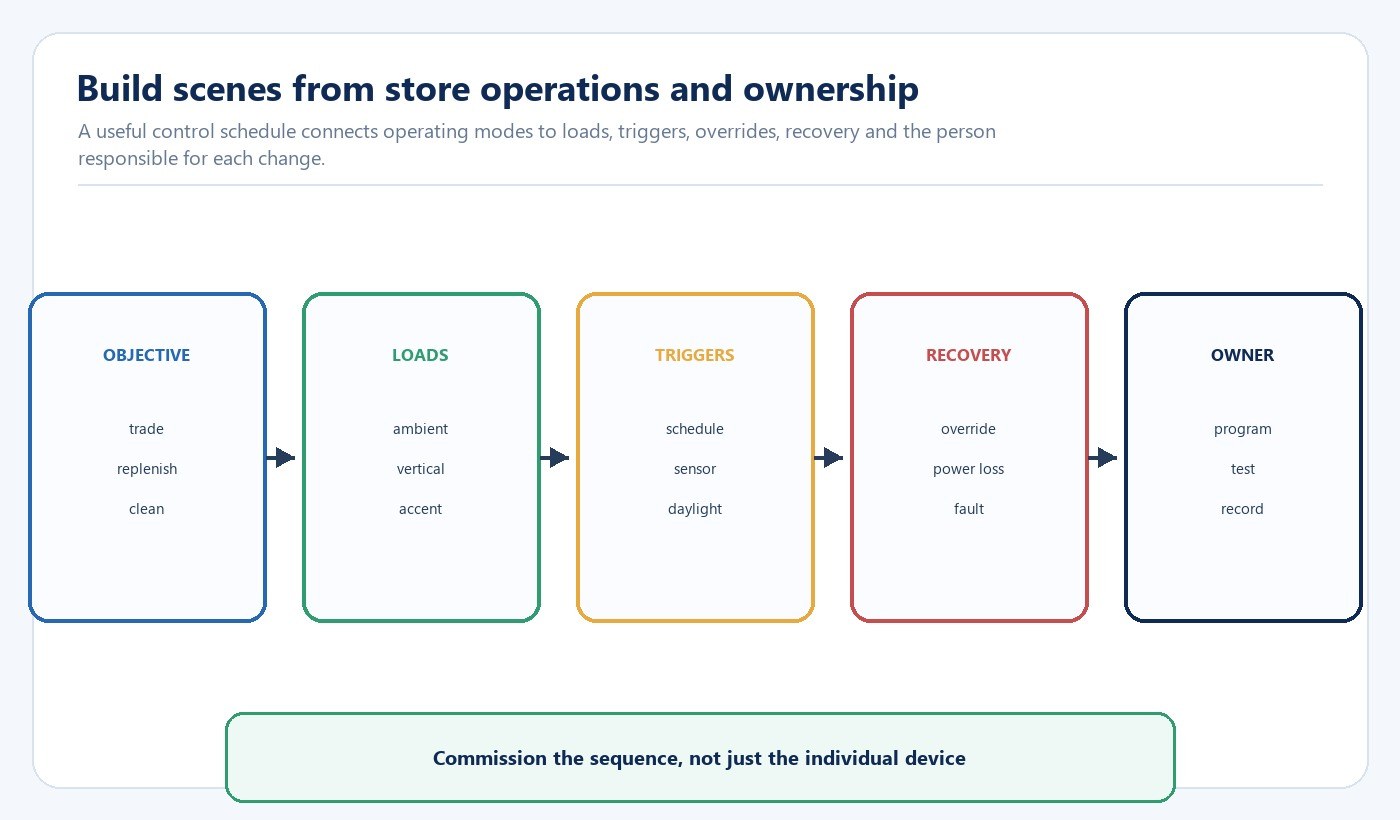
For every scene, record manual override, power-loss behaviour, sensor timeout, daylight setpoint, network dependency and recovery method. Assign who can change programming and who verifies it after merchandising or tenant changes. Review dimming compatibility across the complete control chain; the LED driver, dimming and control compatibility guide explains why a shared protocol label does not by itself prove stable operation.
Commission With the Finished Store in Place
Final commissioning should occur after representative merchandise, shelving, signs, mirrors and finishes are installed. First confirm luminaire model, lamp or LED module, optic, output setting, position and control address. Then aim vertical and accent light from defined customer viewpoints, measure on the correct horizontal or vertical planes, and run every scene, sensor, schedule, override and recovery condition.
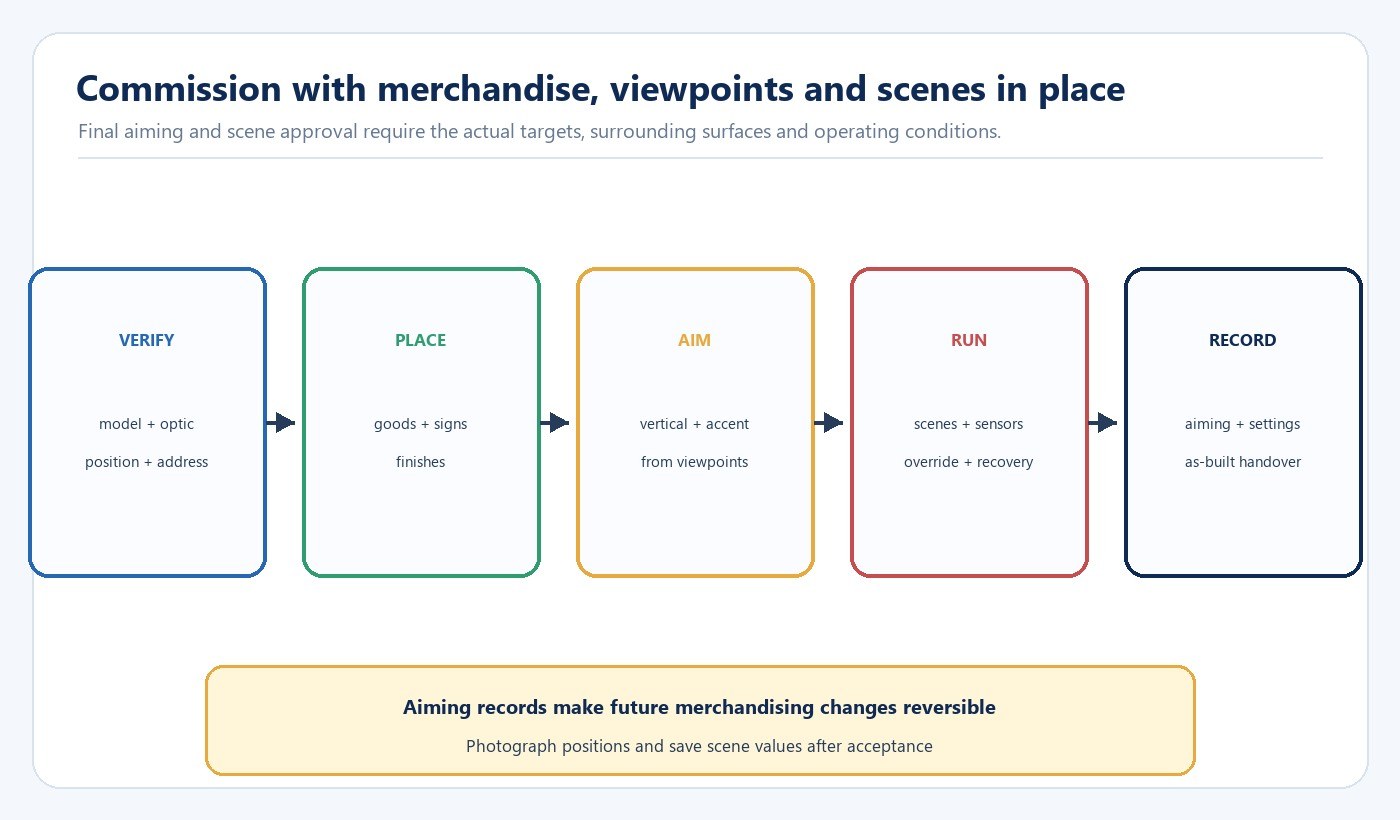
The 2024 U.S. Department of Energy guidance for LED lighting and controls recommends recommissioning after changes such as renovated finishes, new tenants or control-system updates. Retail spaces change frequently, so photograph final aiming positions and save scene values, sensor settings and as-built records. The LED lighting sample evaluation checklist can structure the earlier sample stage before site commissioning.
Plan for Merchandising Changes and Maintenance
A flexible track does not automatically create a flexible store. Confirm that staff can safely reach and re-aim luminaires, replace lamps or modules where intended, restore accepted scenes and identify approved alternates. Avoid placing frequently adjusted heads where access requires disrupting displays or closing a large sales zone.
Record the zone, target, luminaire position, optic, aiming direction, output setting and scene membership together. When shelving or graphics move, review the affected target and neighbouring zones instead of changing one head in isolation. This preserves hierarchy and limits accidental spill or glare.
Retail Lighting Project Release Checklist
- Each zone has a named visual task, target surface and viewing direction.
- Horizontal and vertical criteria are not mixed into one average.
- Mounting, optic, aiming and shielding are checked as one geometry.
- Representative merchandise and finishes are used for colour review.
- Operating scenes define loads, triggers, overrides and recovery.
- Final aiming occurs after merchandising and finishes are substantially complete.
- Commissioning covers sensors, schedules, dimming, power loss and manual control.
- Aiming photographs, scene values and approved replacement information are handed over.
For a project-specific review, send the zone schedule, reflected ceiling plan, target surfaces, operating modes and available fixture information through the New Lights project enquiry form.
Frequently Asked Questions
Should a retail store use one lux target?
No. Retail tasks include horizontal and vertical viewing, accent hierarchy, fitting, circulation and service work. Select criteria for each zone and target surface.
Are narrow beams always better for merchandise accents?
No. A narrow distribution can strengthen hierarchy but also increase aiming sensitivity, hard edges and glare. Decide from mounting distance, target size, shielding and desired contrast.
When should retail lighting be aimed and commissioned?
After representative merchandise, shelves, graphics and finishes are in place. Earlier aiming can establish a starting point, but final acceptance needs the finished visual context.
What should be saved after commissioning?
Keep luminaire and optic identity, aiming photographs, output settings, scene values, sensor settings, override and recovery behaviour, and approved replacement information.
Editorial Sources
- Illuminating Engineering Society — ANSI/IES RP-2-20, Recommended Practice: Lighting Retail Spaces: https://store.ies.org/product/rp-2-20-recommended-practice-lighting-retail-spaces/
- CIE — CIE PS 002:2025 Position Statement on Colour Quality Metrics, 2nd Edition: https://cie.co.at/publications/cie-ps-0022025-cie-position-statement-colour-quality-metrics-2nd-edition
- U.S. Department of Energy — Lighting Controls Solutions: https://www.energy.gov/cmei/ssl/lighting-controls-solutions
- U.S. Department of Energy — LED Lighting and Controls Guidance for Federal Buildings, September 2024: https://integratedlightingcampaign.energy.gov/sites/default/files/2024-10/LED%20and%20Controls%20Guidance%20for%20GSA_0.pdf