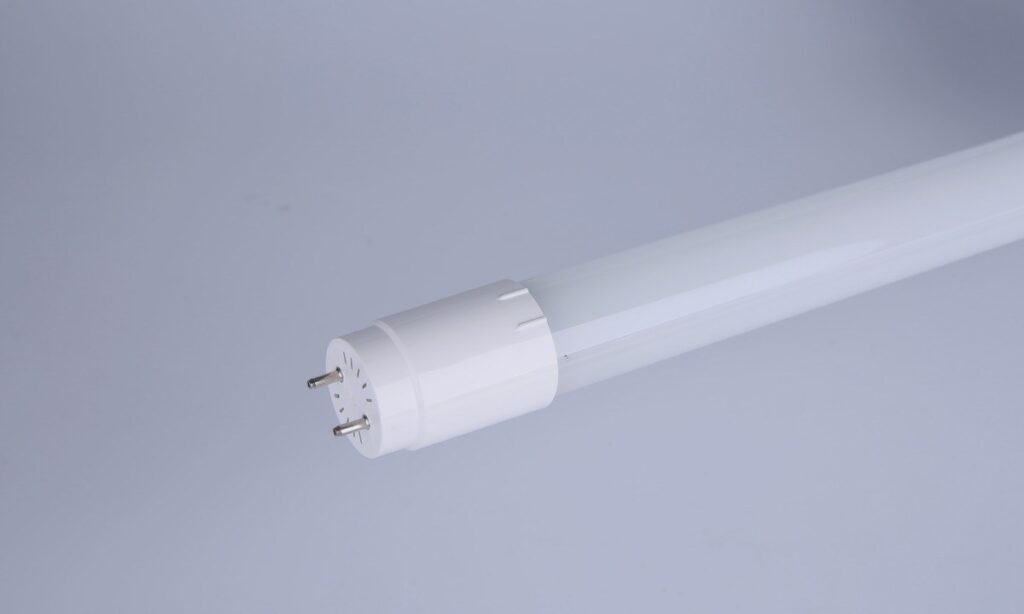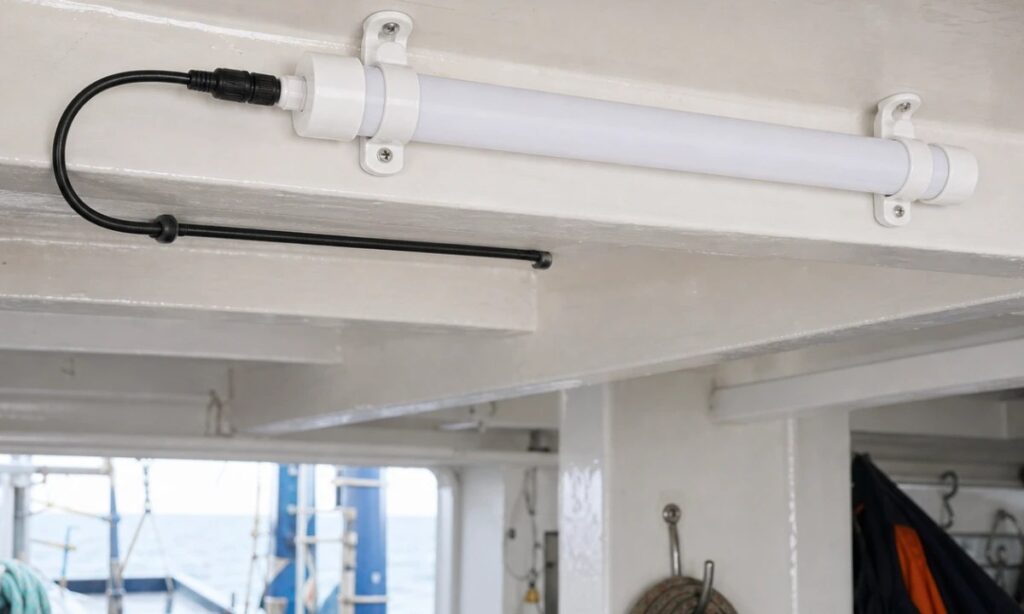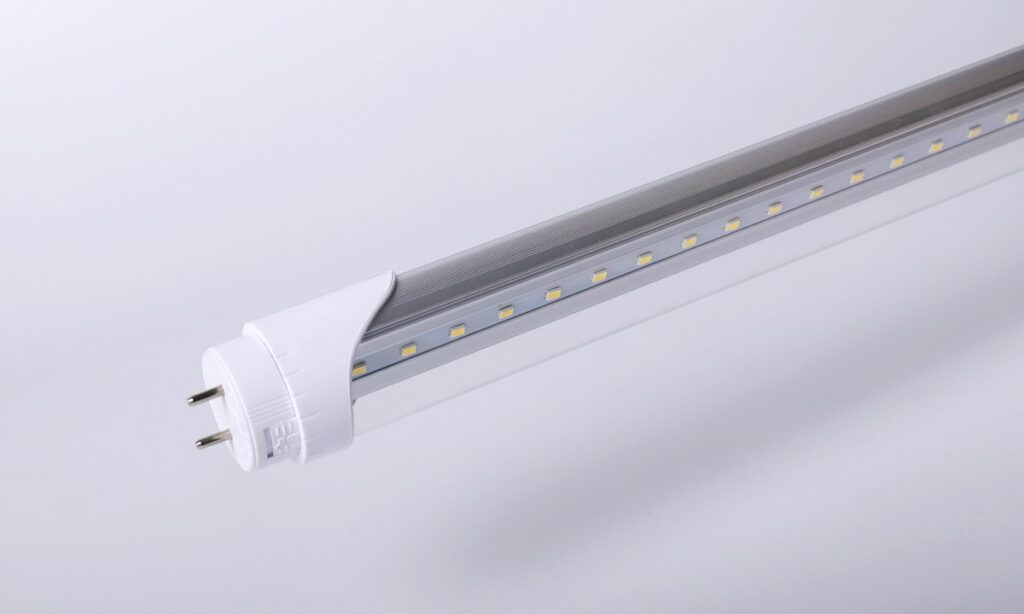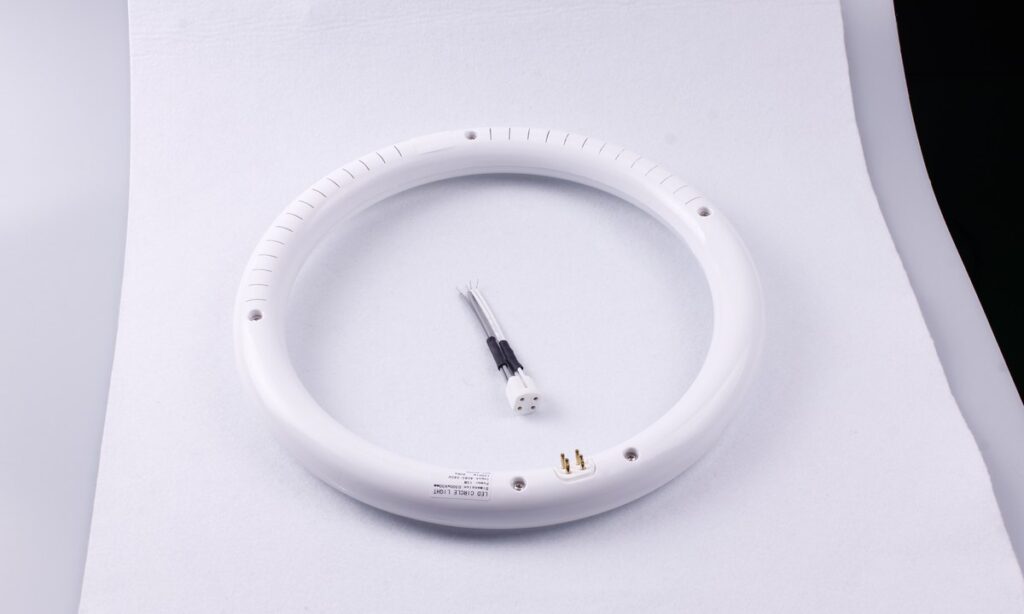


In this guide, “daylight tube” means an electric LED or fluorescent tube lamp sold with a daylight-like color appearance. It does not mean a roof-mounted tubular daylighting device that channels sunlight into a building.
That distinction matters because daylight color is not a maintenance technology. An LED tube has a driver or other electronic power path. A fluorescent tube depends on a ballast and contains mercury. Their failure modes, replacement decisions and end-of-life handling are different.
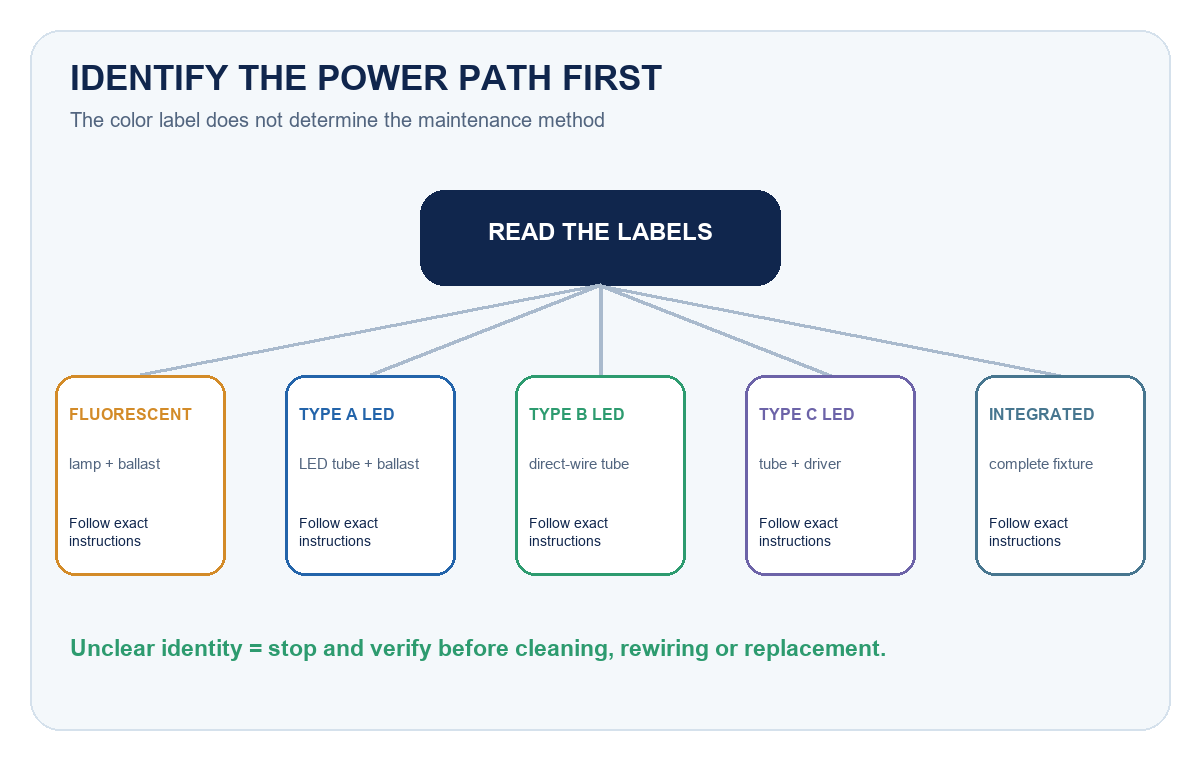
Start by identifying the exact lamp, fixture and electrical architecture. Do not rely on the words “daylight tube” alone. The useful maintenance path begins with the technology, host fixture, ballast or driver, operating environment and observed symptom.
Identify the System Before Maintenance
Record the markings on the lamp, ballast or driver, fixture and controls. Determine whether the source is LED or fluorescent and whether the fixture has been converted.
A useful inventory includes:
- manufacturer and exact model;
- lamp shape, length, base and wattage;
- LED Type A, Type B, Type C or another approved architecture;
- fluorescent ballast model and starting method;
- supply voltage and control method;
- rated color temperature and color-rendering data;
- fixture enclosure, diffuser and mounting orientation;
- ambient temperature, humidity, dust and cleaning exposure;
- emergency-lighting or sensor functions;
- installation date, operating hours and prior failures.
Do not assume a tube is LED from its appearance. Do not install a fluorescent lamp into a fixture labeled as converted for direct-wire LED operation. If markings or wiring are unclear, stop and have a qualified person identify the system.
| What you find | Treat the system as | First maintenance question |
|---|---|---|
| Fluorescent lamp plus ballast | Fluorescent system | Are the lamp and ballast an approved electrical match? |
| Type A LED tube plus retained ballast | LED retrofit with ballast in circuit | Does the exact lamp-ballast combination remain compatible? |
| Type B direct-wire LED tube | Converted LED fixture | Are wiring, energized-end arrangement and conversion labels intact? |
| Type C LED tube plus external driver | LED system with remote driver | Does the installed lamp-driver pair match the approved configuration? |
| Integrated linear fixture | Complete LED luminaire | Which component is serviceable under the manufacturer’s instructions? |
Establish a Performance Baseline
Maintenance is easier when the facility has a reference condition. Record representative illuminance, visual uniformity, color appearance, start-up behavior, flicker symptoms and control settings when the system is operating correctly.
Use a documented measurement grid for critical areas. Note meter, work-plane height, time, operating state and environmental conditions. A smartphone photograph can help locate differences, but automatic exposure and white balance make it unsuitable as the only measurement record.
Track changes by zone and component. One dark lamp suggests a different problem from gradual decline across an entire room. A color difference in one replacement tube may come from a mismatched product, while a whole row changing together may point to age, temperature or procurement variation.
Clean the Optical Path Safely
Dust on a tube, lens, reflector or diffuser can reduce delivered light even when the electrical system is healthy. Cleaning restores transmission; it does not reverse LED degradation or repair a failing ballast or driver.
OSHA 1910.333 generally requires exposed live parts to be de-energized before work unless a defined exception applies, with the applicable isolation, lockout/tagging and verification procedure. Before cleaning, isolate the equipment under the site procedure and allow hot components to cool. Follow the fixture and lamp manufacturer’s instructions. Use only approved materials and methods for the specific plastic, glass, coating, gasket and reflector.
A practical cleaning inspection covers:
- external tube or lens surface;
- diffuser discoloration, cracking or warping;
- reflector dust or corrosion;
- blocked vents or heat-dissipating surfaces;
- insects or debris inside an approved serviceable enclosure;
- damaged gaskets and cable entries;
- residue from process oils or cleaning chemicals.
Do not spray liquid into sockets or electronics. Do not use an abrasive pad or unapproved solvent. If an enclosure is sealed or not user-serviceable, opening it may damage protection or certification.
After cleaning, compare light levels and visual appearance with the baseline. If output remains low, continue diagnosis instead of cleaning repeatedly.
LED Tube Maintenance Path
LED systems can fail gradually or abruptly. DOE lifetime guidance discusses lumen depreciation and color shift as gradual changes, while drivers, connections, thermal conditions and other components can cause intermittent or sudden failure.
For an LED tube, inspect:
- delayed start, flicker or intermittent operation;
- partial dark sections or visible LED pattern changes;
- color difference between tubes;
- driver or ballast compatibility where applicable;
- loose, discolored or overheated lampholders;
- blocked thermal paths and excessive ambient heat;
- dimmer, sensor or control behavior;
- surge or supply events in the failure history.
A Type A LED tube still depends on the fluorescent ballast. Replacing the tube without checking the ballast may not solve repeated flicker or start problems. A Type B fixture has been rewired and must retain the required conversion labels and compatible lamp. A Type C system depends on its external driver. The LED tube installation guide explains how to distinguish these architectures before work begins.
Do not diagnose useful life from LED package data alone. DOE guidance notes that complete-system reliability includes drivers, optics, thermal management and operating conditions. Use the exact lamp or luminaire evidence for replacement planning.
The New Lights Type A plug-and-play T8 LED tube illustrates the retained-ballast architecture. Its product page supports product-family identification; maintenance still depends on the installed lamp, ballast, fixture and site conditions.

Fluorescent Tube Maintenance Path
Fluorescent tubes depend on the lamp, ballast, lampholders and starting circuit. Symptoms can include slow start, end darkening, cycling, flicker, reduced output, color change or complete failure.
Confirm the exact lamp type, base, wattage and ballast compatibility before replacement. Similar length or pin spacing is insufficient to establish electrical compatibility. Group relamping may be useful in some large facilities, but the decision should use actual failure history, access cost, operating hours and remaining equipment plan rather than a universal interval.
Inspect the ballast and sockets when failures repeat in one fixture. Heat damage, loose contacts or a failing ballast should not be hidden by repeatedly fitting new lamps.
Fluorescent lamps contain mercury. Keep spent tubes intact, protect them during storage and use a recycling or waste-management process that meets local requirements. EPA recommends using available recycling options and notes that some US jurisdictions have stricter rules. The New Lights T8 fluorescent tube family is a separate product route from LED retrofit tubes; confirm the exact lamp and ballast pairing before replacement.
Handle Broken Fluorescent Lamps Correctly
A broken fluorescent tube is not ordinary glass cleanup. EPA provides specific guidance because mercury-containing powder or vapor may be released.
For US household settings, EPA recommends clearing people and pets, airing out the room, collecting fragments with stiff paper and tape, sealing cleanup materials and avoiding initial vacuuming. Workplaces, schools, healthcare facilities and regulated sites need their own applicable emergency and waste procedures.
Do not copy a short online checklist without checking the location and regulatory context. Train employees in advance, identify the responsible person, keep appropriate containers available and record breakage events.
LED tubes do not use the same fluorescent-lamp mercury process, but they still require compliant electronic-waste or local disposal handling where applicable. Identify the technology before selecting the waste stream.
Diagnose Flicker and Intermittent Operation
Flicker can originate in the lamp, ballast or driver, dimmer, sensor, supply, connection or control configuration. Visible flicker is not the only concern, and a phone-camera banding image is not a complete diagnostic measurement.
Start with scope:
- one lamp, one fixture, one circuit or an entire site;
- only at start-up or throughout operation;
- only when dimmed or under sensor control;
- related to temperature, machinery or supply events;
- new installation or gradual onset.
Check model compatibility and configuration before replacing parts. Use qualified electrical measurement where required. Never reseat, probe or clean energized sockets as a trial-and-error fix.
If a replacement lamp flickers in only one fixture, compare the host components. If multiple fixtures change together, examine shared supply and controls. Record the result so recurring failures reveal a pattern.
| Symptom pattern | Likely boundary to inspect first | Evidence to record |
|---|---|---|
| One lamp fails to start | Lamp, lampholders, local ballast or driver channel | Exact models, contacts, temperature and swap result |
| One complete fixture is intermittent | Supply connection, ballast/driver, conversion wiring or control | Circuit, control state, labels and qualified electrical findings |
| A whole zone changes together | Shared supply, dimming, sensor schedule or environmental event | Time, control command, voltage event and affected fixtures |
| Gradual output decline | Dirt, optical aging, lamp depreciation or changed control setting | Comparable illuminance, cleaning result and operating hours |
| Color mismatch after replacement | Different CCT, product revision, phosphor or procurement batch | Old and new labels, purchase records and visual location |
Monitor Light Output and Color
Daylight color is usually communicated through correlated color temperature. CCT describes chromaticity; spectrum, color rendering and biological effects require separate metrics and evidence. Maintenance should focus on measurable light and color requirements for the task.
Check for:
- gradual illuminance decline;
- color mismatch after spot replacement;
- visible green, magenta, blue or yellow shift;
- non-uniform appearance along a tube;
- diffuser yellowing or dirt;
- changed control or dimming level;
- room-surface changes affecting perception.
Use consistent measurement conditions. A daylight sensor or automatic dimming system can reduce electrical output when ambient daylight changes, so record the control state. Cleaning a lens may increase measured illuminance, but it does not automatically change lamp input power unless controls respond.
For color-critical tasks, obtain appropriate photometric and color-maintenance evidence for the exact product. Do not use a nominal daylight label as a substitute.
Manage Temperature, Moisture and Ventilation
LED electronics and fluorescent ballasts have temperature limits. High temperature can accelerate LED system degradation, while low temperature can affect fluorescent starting and output. Moisture can damage contacts, electronics, coatings and housings.
Verify the complete system rating for the actual environment. Keep intended ventilation and heat paths clear. Do not add insulation, sealant or covers that violate the fixture design. For damp, wet, washdown or corrosive locations, confirm the enclosure and installed assembly rather than assuming the tube alone provides protection.
Investigate condensation, cracked seals and corrosion before fitting a new lamp. A repeated environmental failure needs an application correction, not only relamping.
Decide Between Spot and Group Replacement
Spot replacement minimizes immediate material use but can create visible color or output differences. Group replacement can reduce access labor and improve consistency but may discard functioning lamps prematurely.
Base the decision on:
- measured light levels and uniformity;
- failure rate and age distribution;
- access and shutdown cost;
- color consistency requirements;
- ballast or driver condition;
- energy and control upgrade plans;
- recycling and spare-stock arrangements.
For LED systems, confirm whether the tube, driver or complete fixture is the service unit. For fluorescent systems, include ballast strategy and mercury-lamp handling. Avoid mixing unverified replacement models within a visually sensitive row.
The sample evaluation checklist helps compare replacement candidates under the same conditions. If maintenance is becoming a wider conversion project, use the commercial LED tube retrofit guide to separate the pilot, approval and rollout stages.

Maintain a Useful Record
For each inspection, record date, model, location, hours or schedule, symptoms, measurements, cleaning, parts changed, technician, waste route and follow-up. Retain installation instructions and conversion labels.
Trend records answer questions that a one-time inspection cannot: Are drivers failing in one hot zone? Are fluorescent lamps reaching end of life together? Did color inconsistency begin after a procurement change? Does flicker correlate with a control update?
Use the evidence to adjust inspection frequency. There is no universal monthly or annual schedule for every tube system. The lighting maintenance and spare-parts guide shows how to connect the approved configuration with replacement stock and service records.
If you need to identify a New Lights tube or maintenance path, contact New Lights with clear photographs of the markings, fixture, ballast or driver and the observed symptom. Product identity should be confirmed before maintenance advice is applied.
Frequently Asked Questions
Does daylight tube mean a skylight tube?
It can. The phrase is ambiguous. This article covers electric LED or fluorescent tube lamps with a daylight-like color appearance, not roof-mounted tubular daylighting devices.
Can LED and fluorescent daylight tubes use the same maintenance plan?
No. LED systems involve drivers or retrofit architectures, while fluorescent systems use ballasts and contain mercury. Cleaning and inspection may overlap, but diagnosis, replacement and disposal differ.
How often should tube lights be cleaned?
Set a risk-based interval using dust, environment, access, measured light loss and manufacturer instructions. One universal interval is not defensible.
Does a daylight label mean full-spectrum natural light?
No. It commonly describes color appearance or CCT. Spectrum, color rendering and any biological effect require separate evidence.
What should a business do with used fluorescent tubes?
Use a compliant local recycling or universal-waste process. Requirements vary by jurisdiction, so verify the applicable rules and keep lamps protected from breakage.
Editorial Sources
- U.S. Department of Energy, LED Luminaire Lifetime: Recommendations for Testing and Reporting: https://www.energy.gov/eere/ssl/downloads/led-luminaire-lifetime-recommendations-testing-and-reporting-0
- U.S. Environmental Protection Agency, Establishing a Recycling Program for Mercury-Containing Light Bulbs: https://www.epa.gov/hw/establishing-recycling-program-mercury-containing-light-bulbs
- U.S. Environmental Protection Agency, Cleaning Up a Broken CFL: https://www.epa.gov/mercury/cleaning-broken-cfl
- Occupational Safety and Health Administration, 1910.333 — Selection and Use of Work Practices: https://www.osha.gov/laws-regs/regulations/standardnumber/1910/1910.333